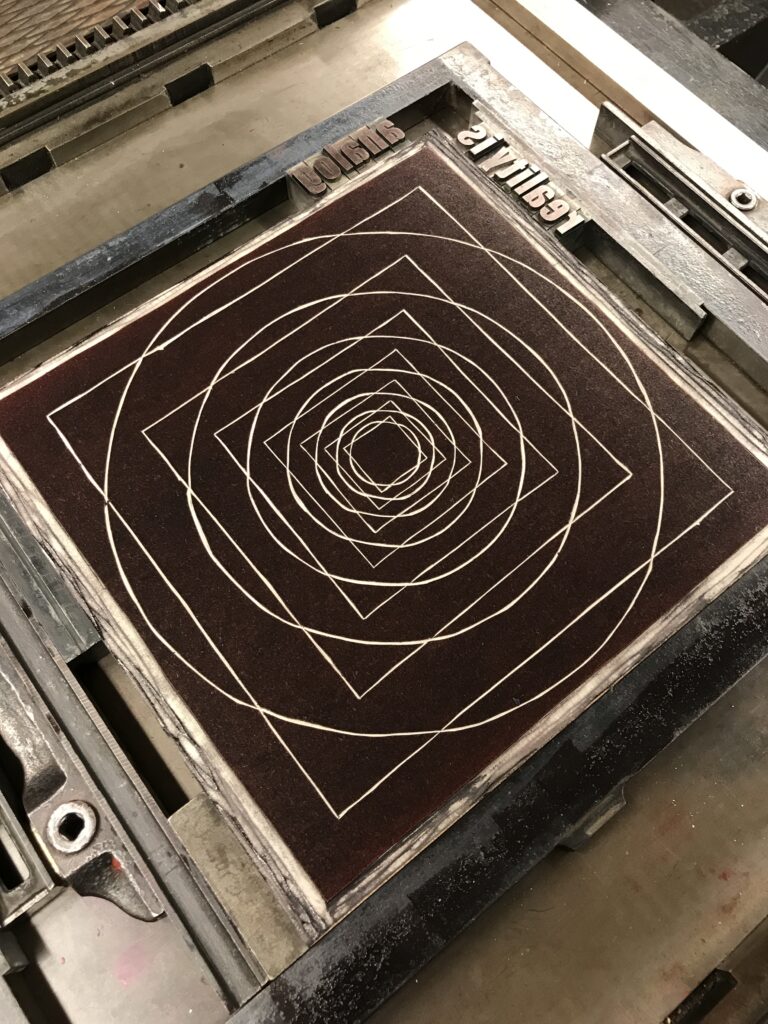
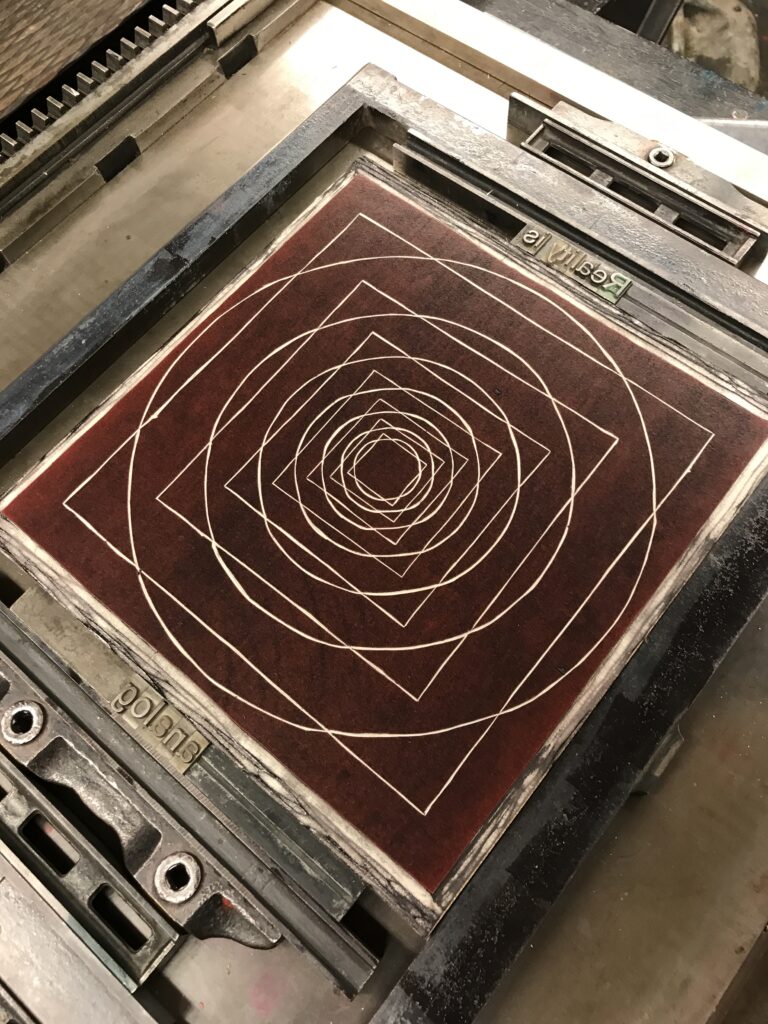
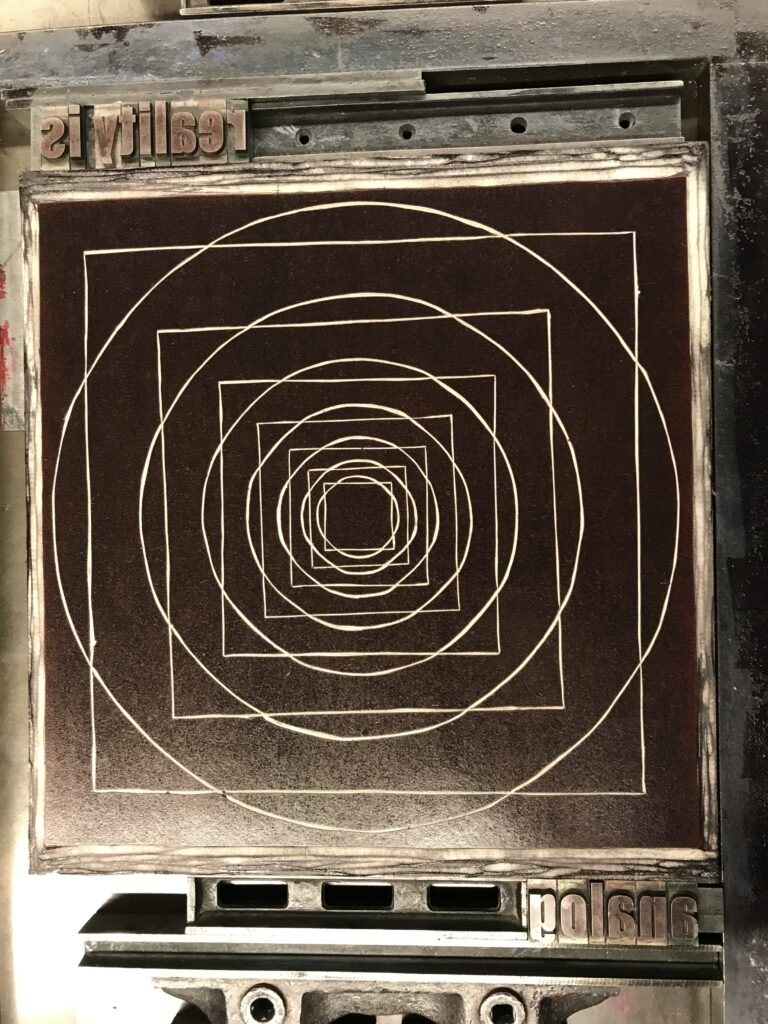
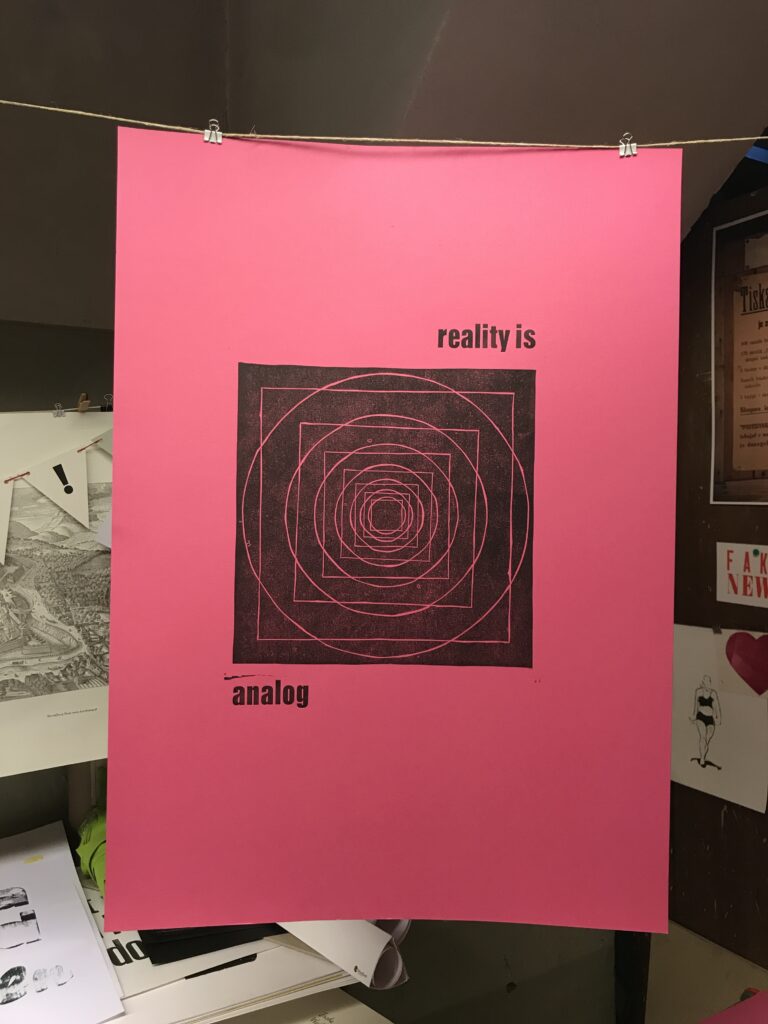
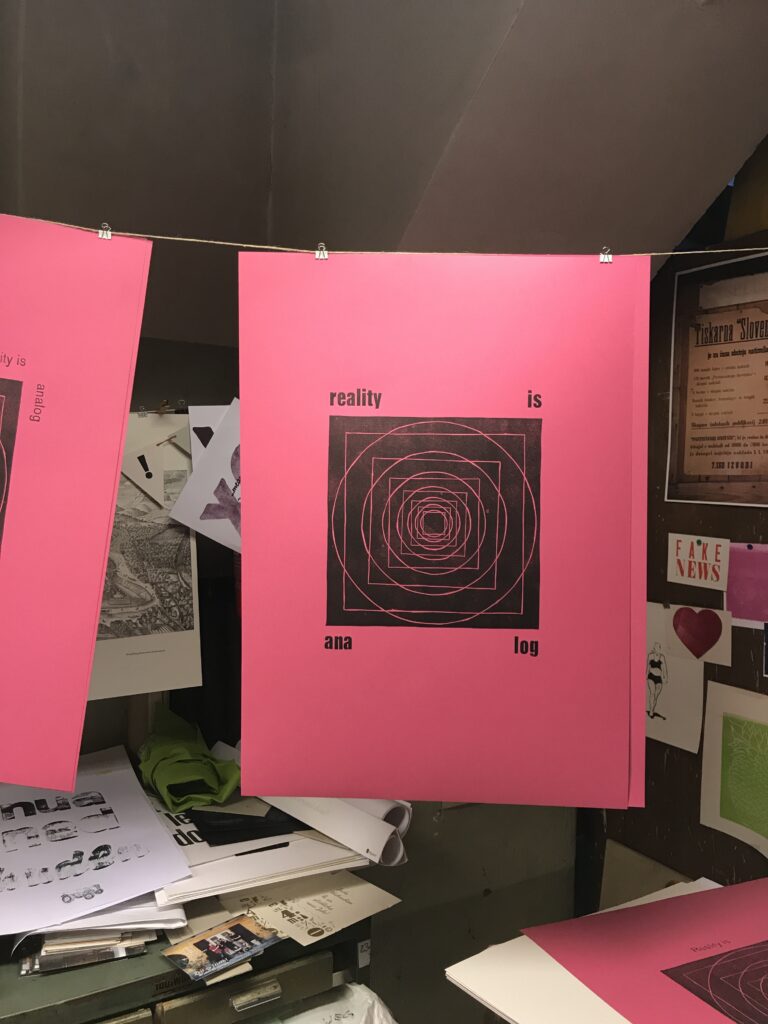
Together with the linocut I placed and fixed the sets of lead letters on an Asbern Proof Press from 1959. Presses like these have originally been used to make a first proof print to see if adjustments to your set and additional printing blocks were needed.
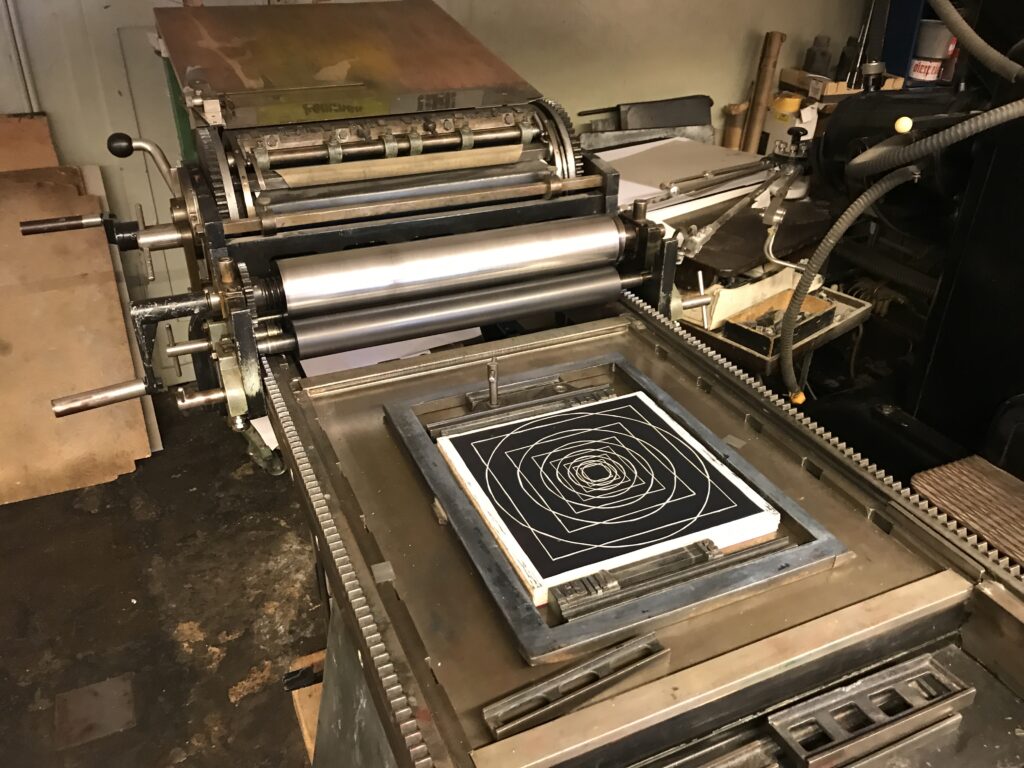
Although this manually driven press provides it’s own inking unit, I decided to colour the letters and linocut by hand, using offset printing colours and a silicon covered hand roller. By this I was able to put on more colour on the area of the linocut and only very little colour on the comparably small letters–for printing it’s always important to ink bigger areas properly, as they physically do not provide as much pressure as small forms pressing the colour deeper into the structure of your paper or printing fabric.
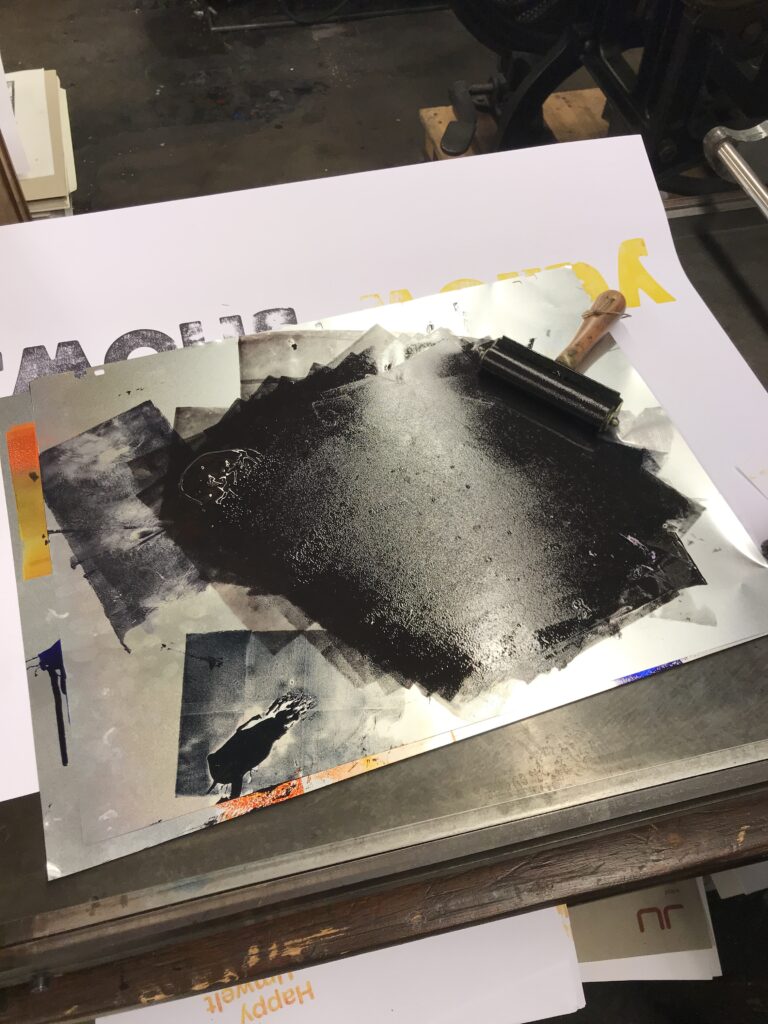
More features of the Asbern proof press are the adjustable cylinder, with which you can adjust the height of the cylinder that runs over the printing image. This function helps again to increase or decrease pressure and thus optimizing your print result without the need to strengthen your whole set with paper or cardboard from beneath. In addition the so called “Anlage” is a feature that’s part of almost any printing as well as book binding machine (and can also be found in the extended field of crafts and production). From historic ones to high tech offset machines, this technical feature enables you to fine-tune the position of your print not by moving the printing set, but adjusting the position of the paper in order to have the print in the same position on every sheet. This feature is extremely important if you have to print more colours in separate print runs next to each other, but also if you want to print on the back of your sheet on the right position.
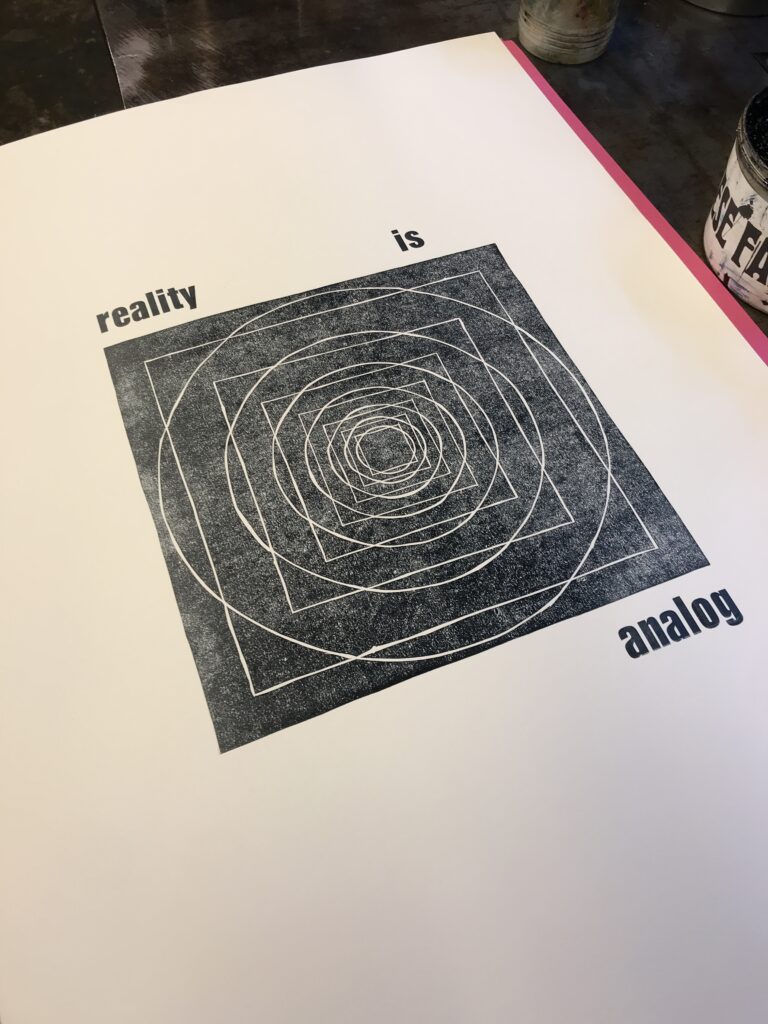
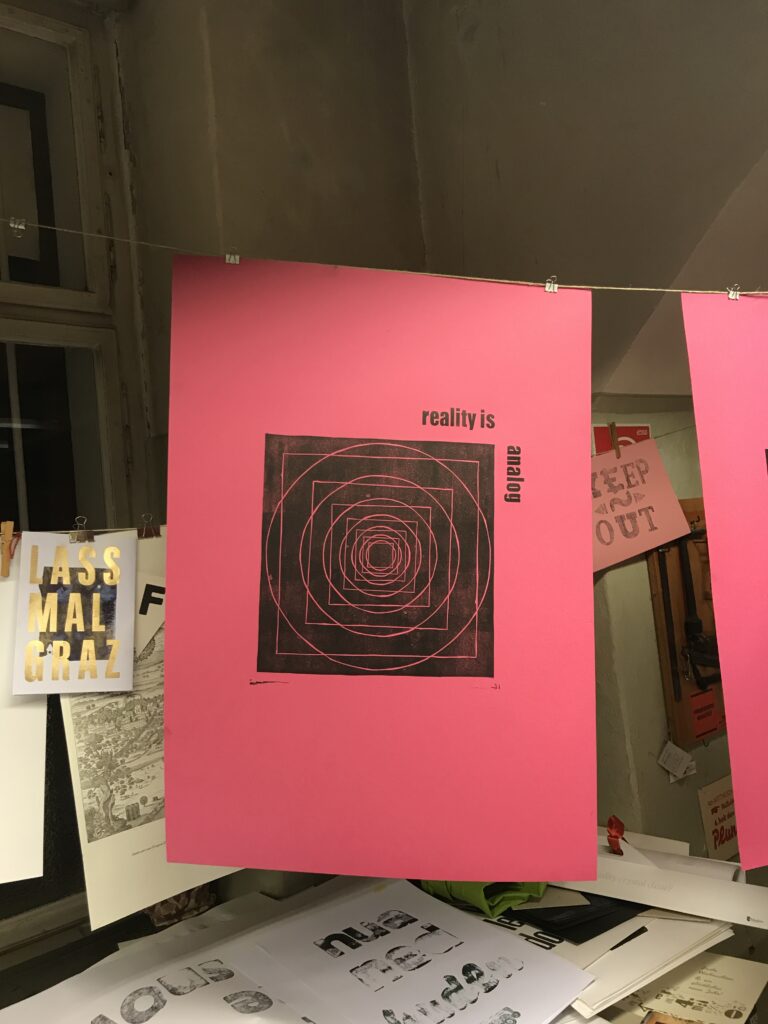
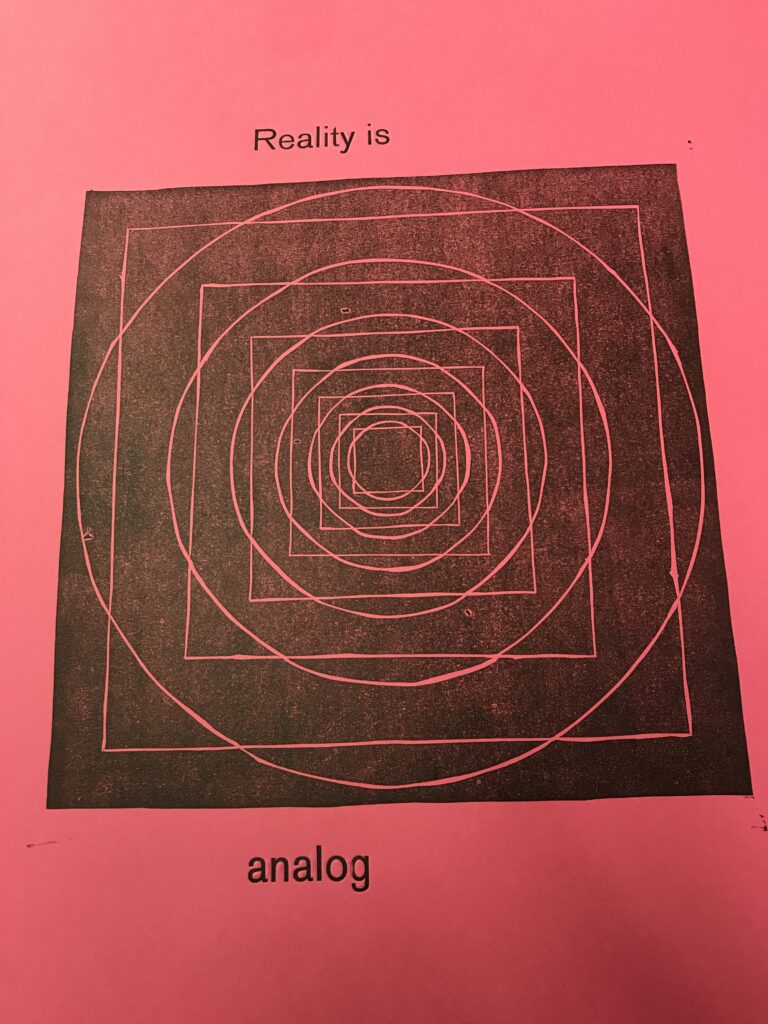
As mentioned in the previous post, the first proof of your letter set, reveals the correct reading direction of your text and letterings, including spacing. Besides, the proof will also show if the letters still have sharp edges or are rather worn out. Especially big wooden letters easily take on wear and due to minimal irregularities in height they may not take colouring evenly, resulting in a rather vintage look.
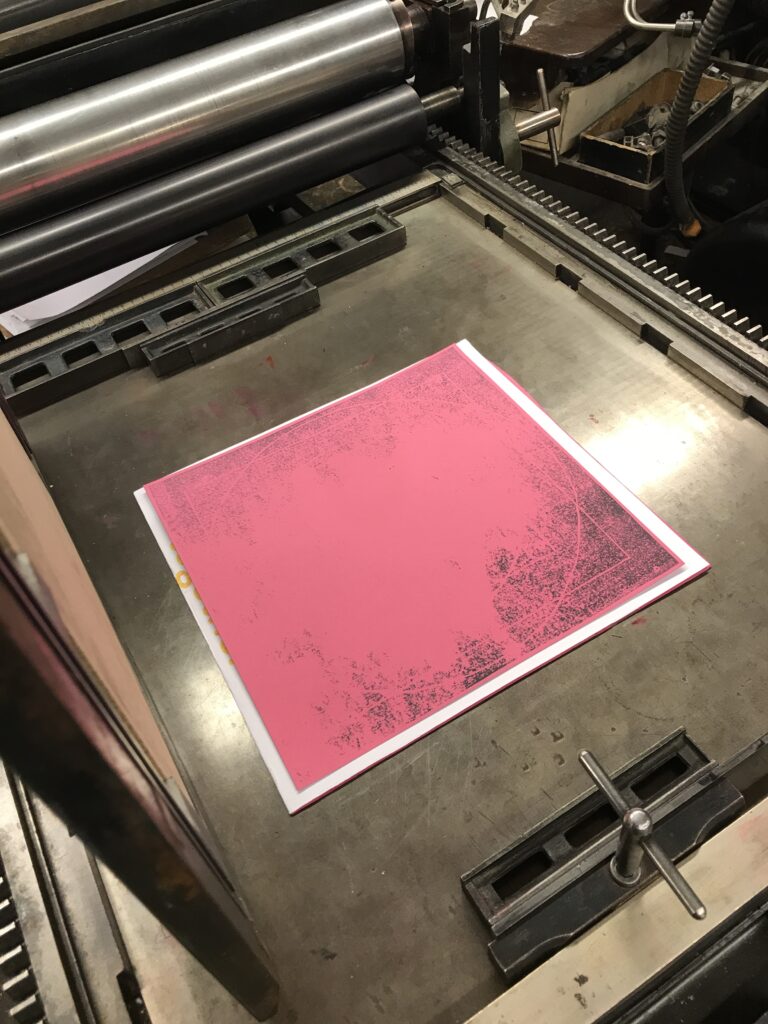
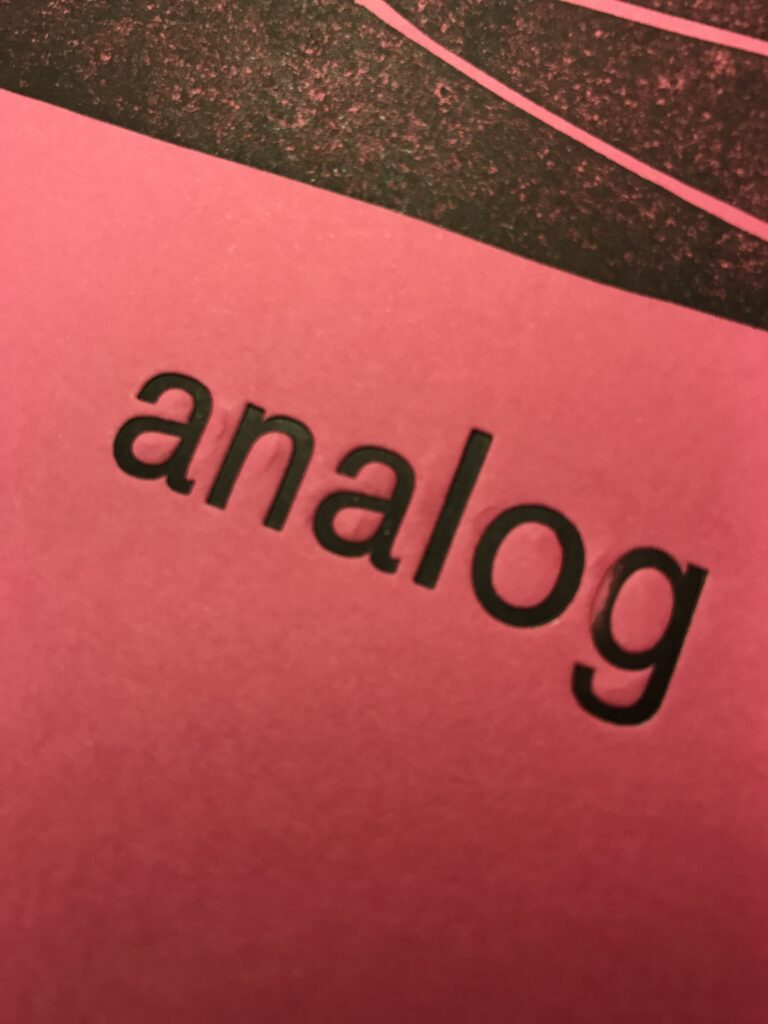
The inexact height of the letters (from various fonts), but also printing blocks and the combination of both often makes adjustment necessary. By simply putting thin pieces of paper like wrapping paper beneath forms that do not take colour and thus won’t appear in the print, it’s possible to raise the height of the single letters or areas of printing forms. Adjusting the height will not only make previously uninked areas visible, but will also increase pressure and thus create a better printing image. Here it’s interesting to mention that putting a single strip of adhesive tape beneath a letter can make a difference of a not printing, a printing or even an embossed letter in your print.
A simple rule for letterpress printing is that little pressure and little colouring will result in a rather “cloudy” appearance, while more pressure and more colour will give your image a more saturated look. Too much pressure may exceed the possibility of embossing, which may result in cracks of the paper. Also too much colour (in combination with high pressure) will result in blurry edges.
As soon as you’re happy with the result of your print proof, you’re ready for the actual print run.
For small editions you can go on with the proof press. If you ink your letter sets and printing blocks by hand you can make use of possibilities like varicoloured areas or adding different analog effects on purpose to your print.
However, as this again is a quite time consuming work, for higher editions, of more or less constant colouring and quality it’s the time to move on to a fully automated press. Get to know the Original Heidelberger Zylinder in my upcoming post: part five–print edition on OHZ.
