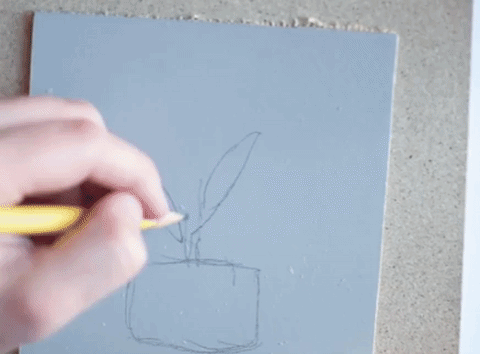
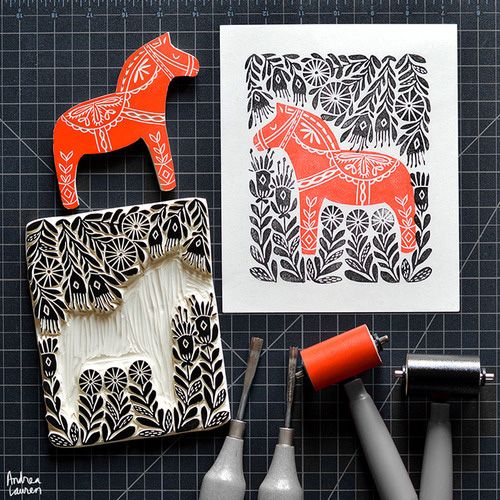
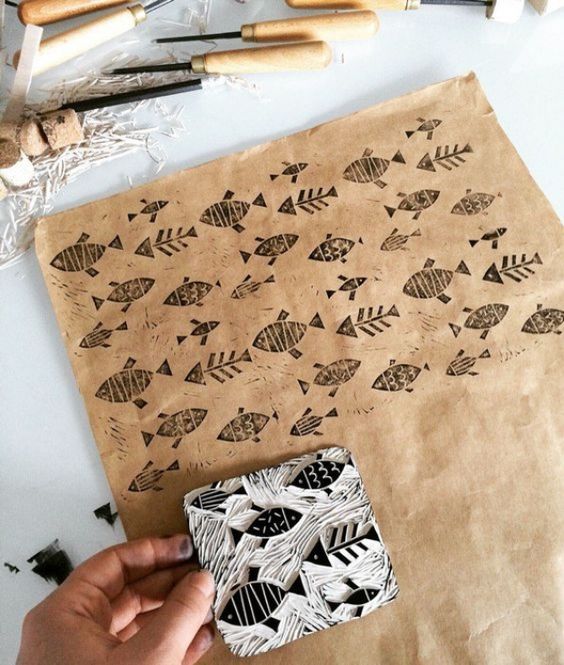
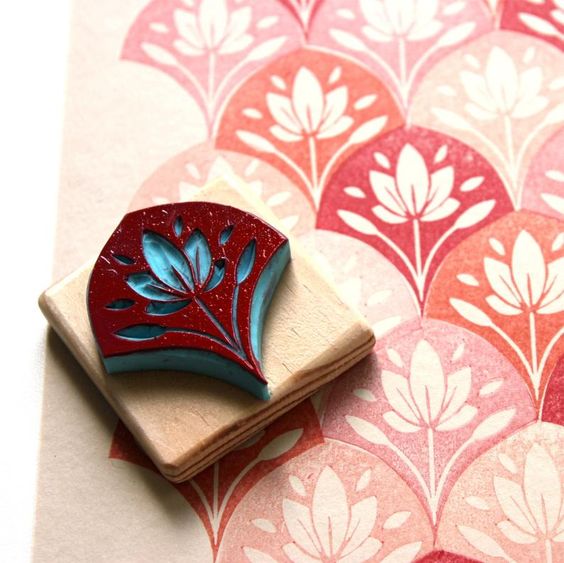
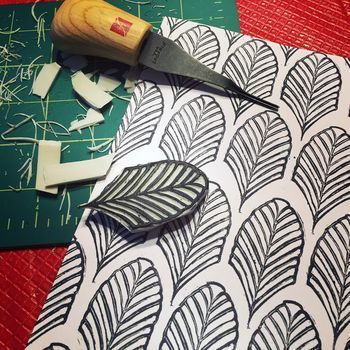
For letterpress printing linoleum makes a great and very affordable opportunity to create your own printing plate. Equipped with a special set of knifes with various widths to carve from thin lines to bigger areas, you can easily draw your design on the lino or transfer your layout from a simple inkjet print–either by using acetone to transfer the toner from print to lino, using carbon paper or simply by covering the back of the print with graphite and tracing your image by hand. For this be aware, that the image on your linocut has to be mirror inverted!
As mentioned before I wasn’t highly experienced in the field of linocuts, so I checked the web to find these highly useful tips:
– Always cut in the direction away from your body and hands, not to injure yourself!
– Before transfering your image you can prepare the lino plate and slightly grind the surface. Putting a solid layer of printing ink on your piece of linoleum will help you make your design better visible for carving and is also likely to improve your print result as eventually the surface of the lino-plate is evenly smooth.
– Attaching your lino-plate to some cutting board or just a big sheet of paper will help you to turn your plate and likewise fix the lino with your second hand in a rather safe area, away from the carving knife.
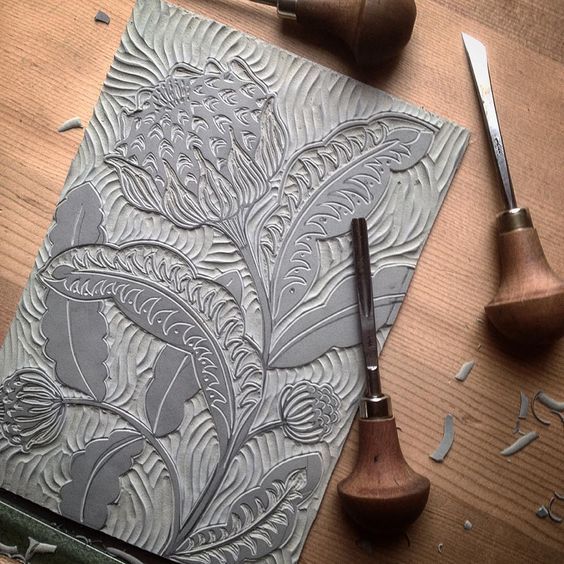
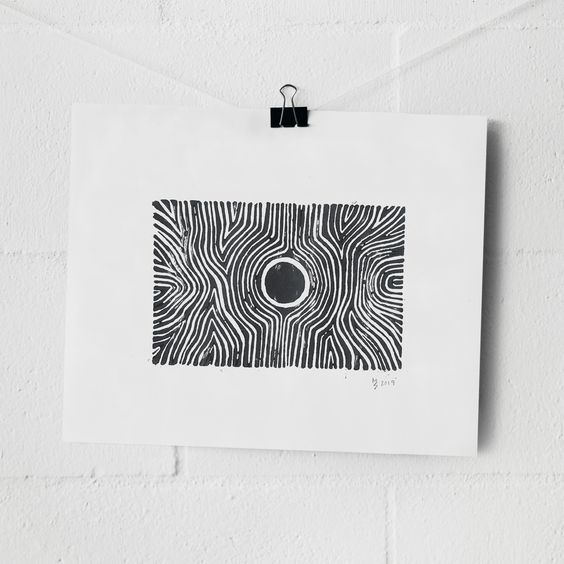
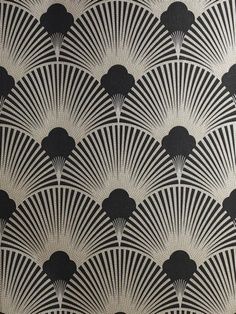
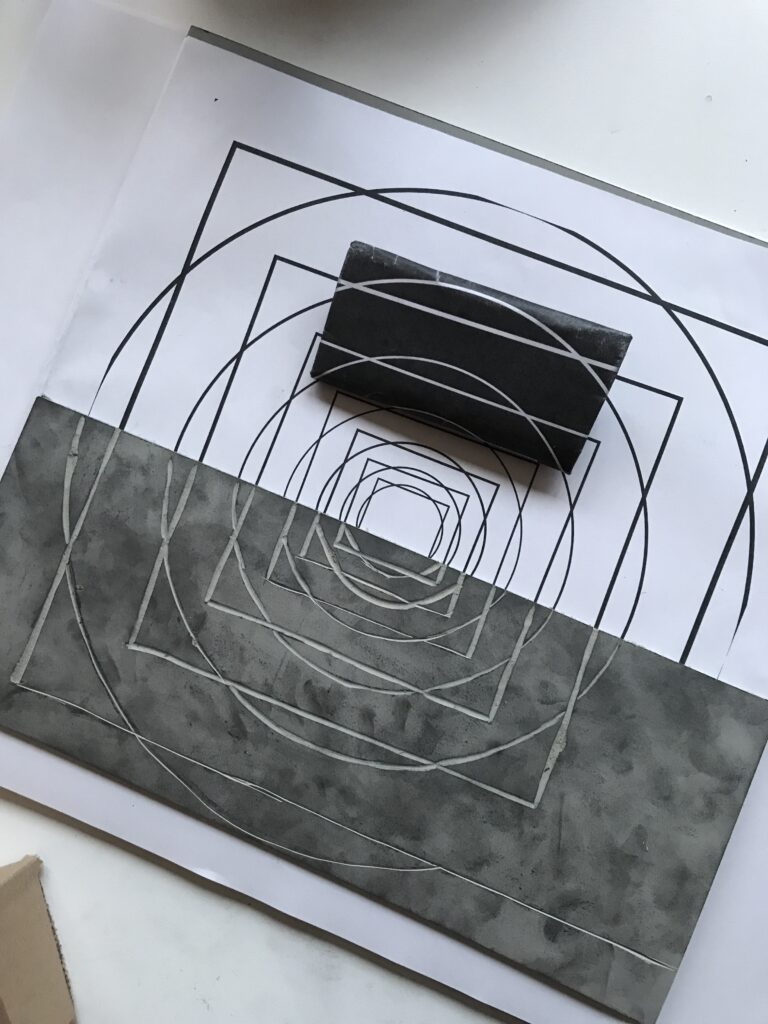
– There’s two possibilities to create your printing image. Number one is the so called “Weißlinienschnitt” (white line cut) which results in the cut lines not to be printed. Second to that you can also make a “Schwarzlinienschnitt” (black line cut) for which you cut out areas resulting in lines and shadings to carry ink and appear on your print. The second option is of course more time consuming but provides better possibilities in creating detailed pictures. Whatever you do, keep in mind that what is cut out from the linoleum will not be visible on your print.
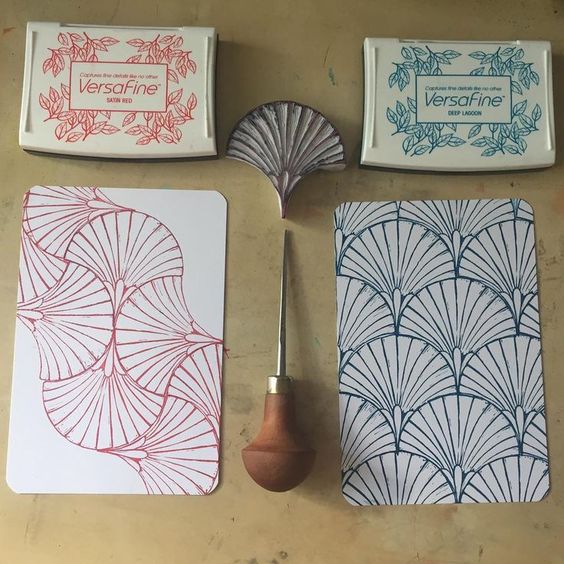
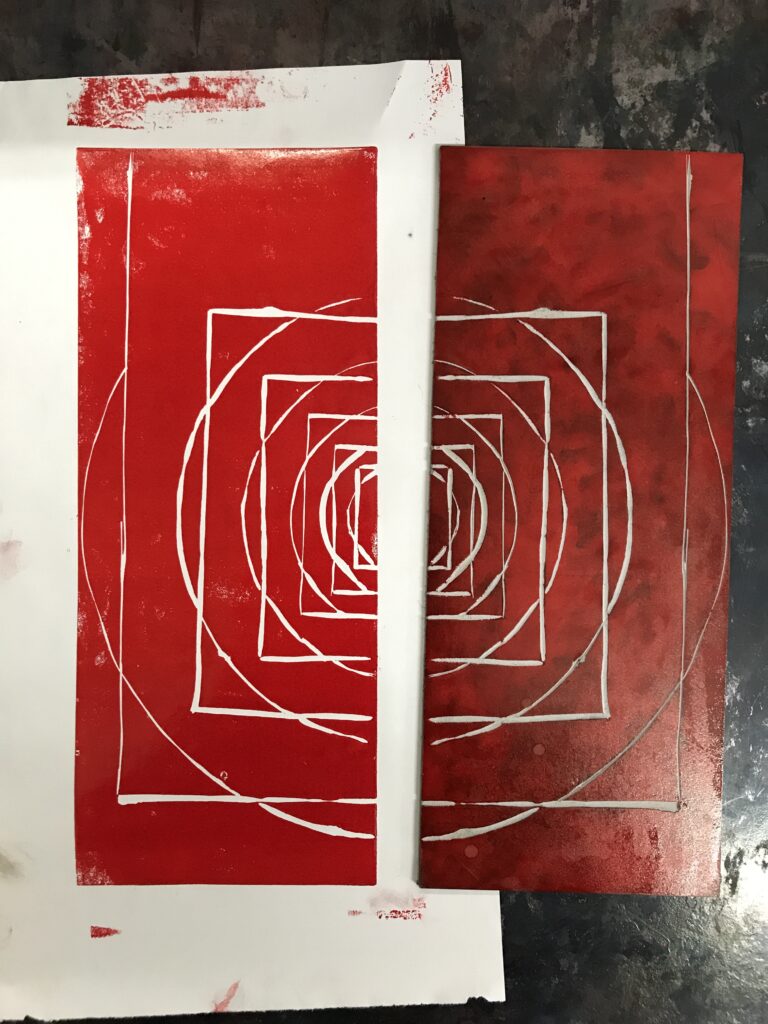
– After you have carved your design into the lino, you can ink the printing plate and by pressing a sheet of paper on it you will have a first impression of what the print is going to look like and help you to find out if you need to extend line-widths or clean up your image if needed.
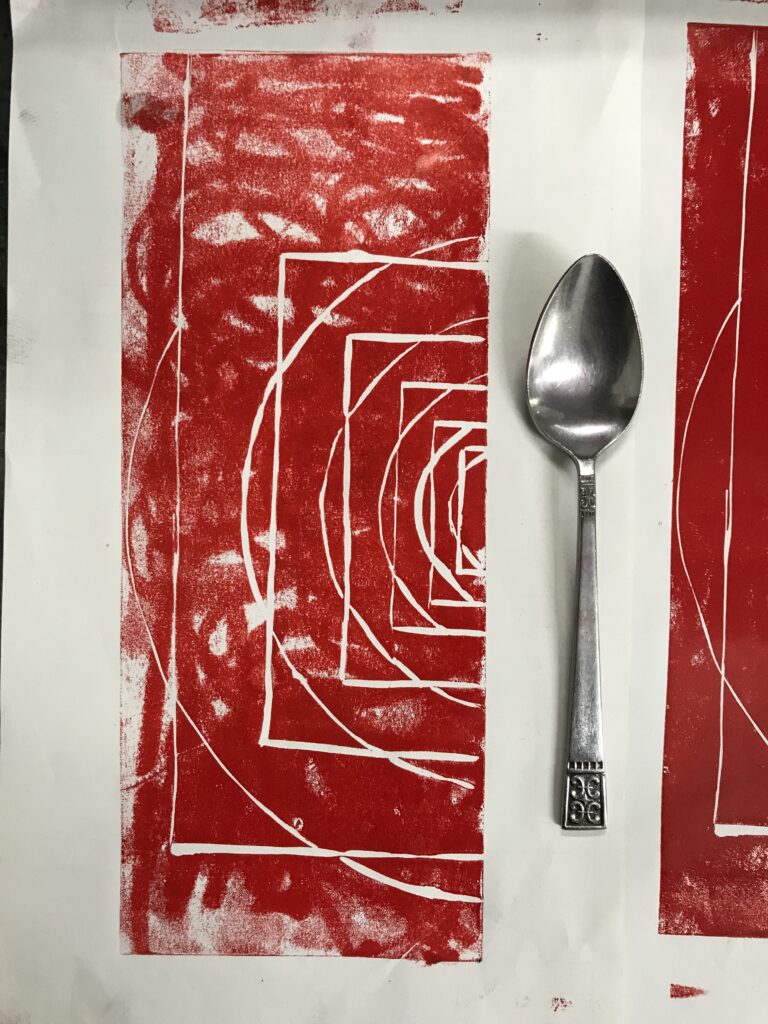
– If you don’t have a printing press at hand, for small editions it is also possible to use a spoon to wear through your printing plate on paper or even use a rolling pin to print your image.
– As soon as your happy with your printing result you’re ready for the print run. Working with letter press machines you will have to attach your linocut to a piece of wood in order to achieve printing height–the linoleum is 3mm thick, so you can get a piece of 18mm thick press board to attach your linocut and put cardboard or paper under it to reach the standard height of 23,6mm.
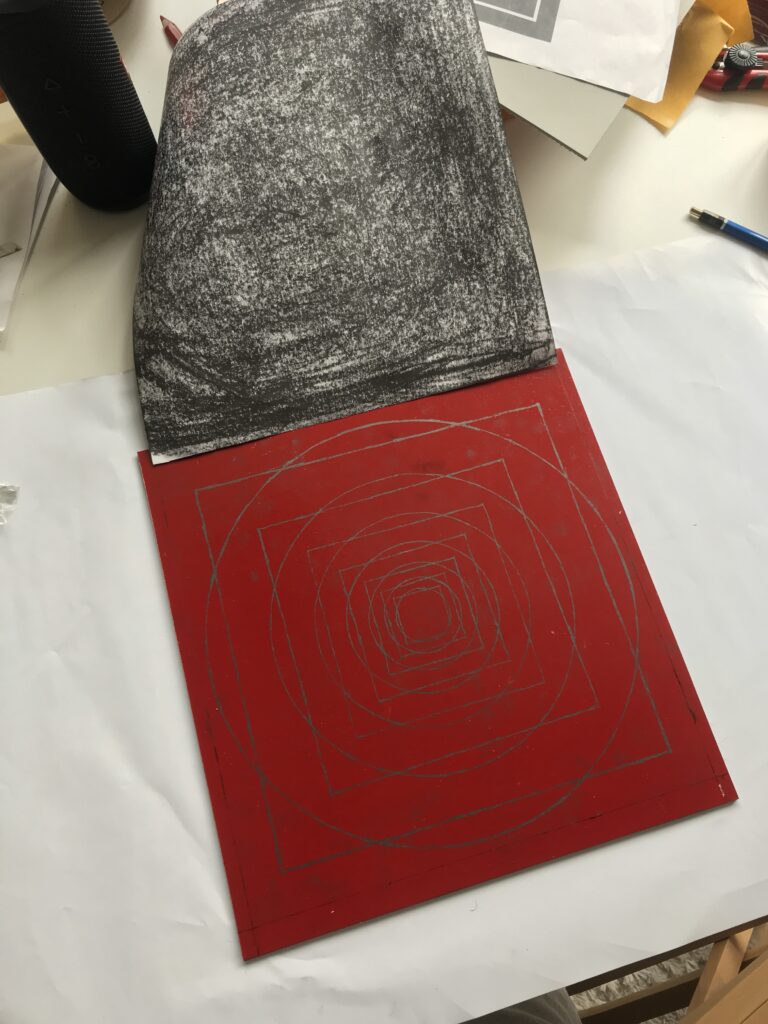
So as I had a linoleum plate size A3, I cut away a piece that I didn’t use for my design and before starting the proper linocut, I had a first test to see how transferring the image works and also to check out various knives and see how thick the lines have to be for the print and use the chance to get a little feeling for handling the knives and carving in linoleum. I was quite astounded how thin the lines for my white line cut could be and still be perfectly visible in print. After the first test cut and print I started working on the final linocut.
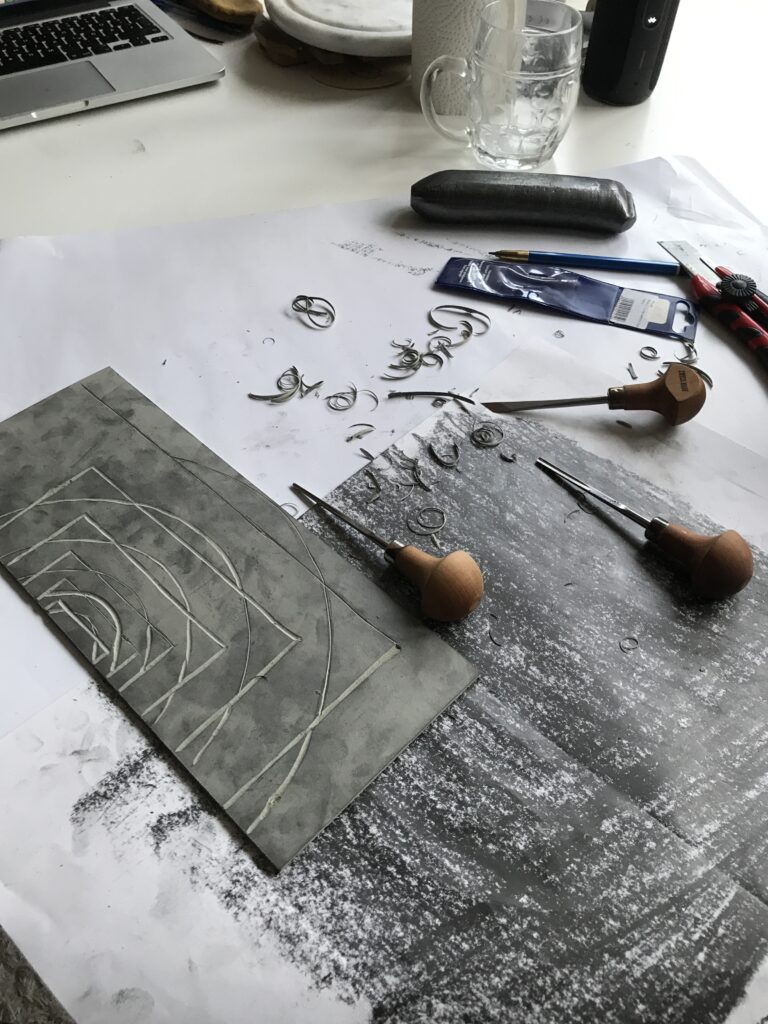
As you can imagine the circles were rather tricky to carve but also for the straight lines a calm hand was needed. In general I had the feeling for doing a linocut you should relax and take your time, but definitely don’t carve hastily, especially when your a rookie in the field. The good thing about this is, as long as your not in a hurry, the process of cutting has quite a relaxing effect anyway.
After about three and a half hours in total–transferring the design, first careful cut followed by a second carving run to broaden the lines and do some corrections, the lino cut was finished and I was ready for the next step: choice of fonts and preparing the lettering.
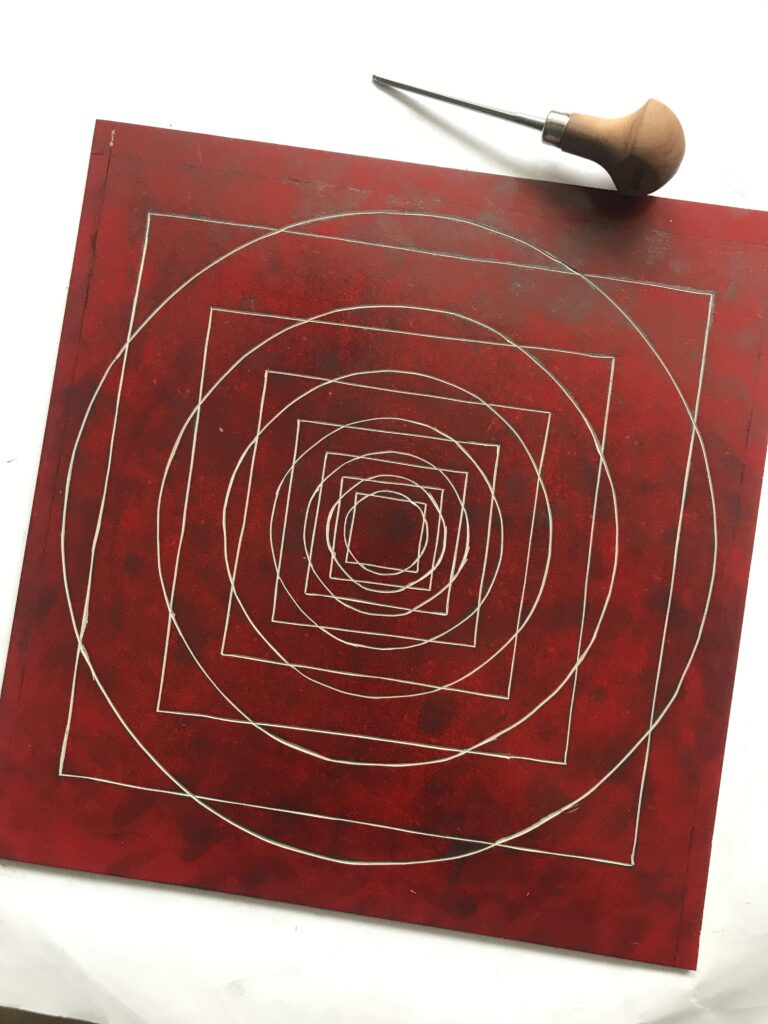
In general I can say that I was amazed by the result and even if I wasn’t able to create a highly precise printing plate with perfect lines and circles, the appearance of the linocut was just what I expected with all it’s inaccuracies but specific characteristics that come with the method, all adding up to the topic of this experiment.
For all who are interested in doing their first linocuts I can recommend this tutorial on Youtube.
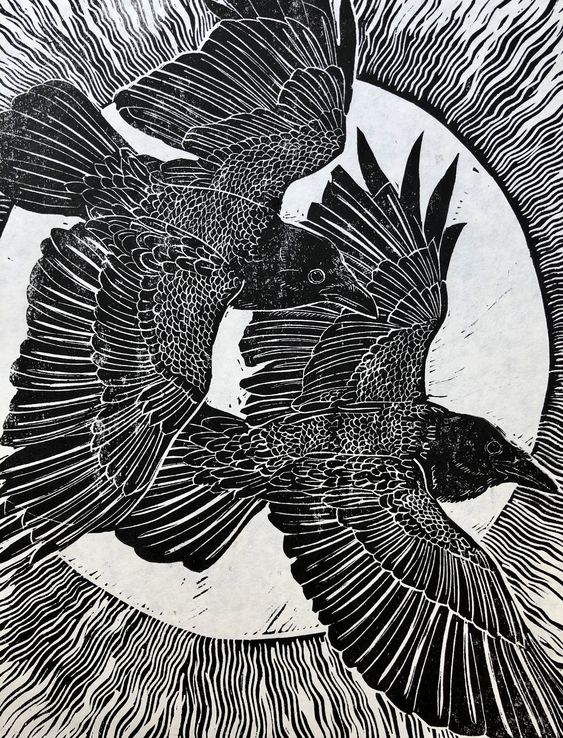
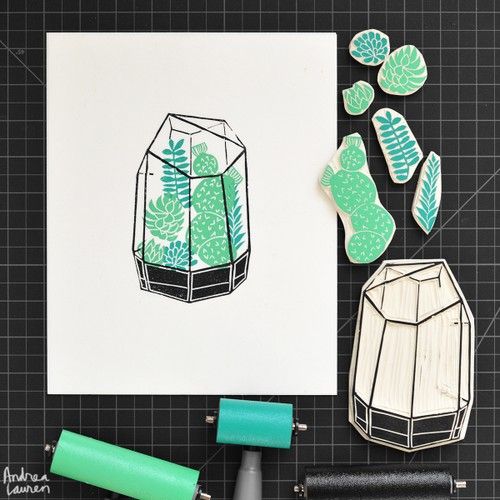
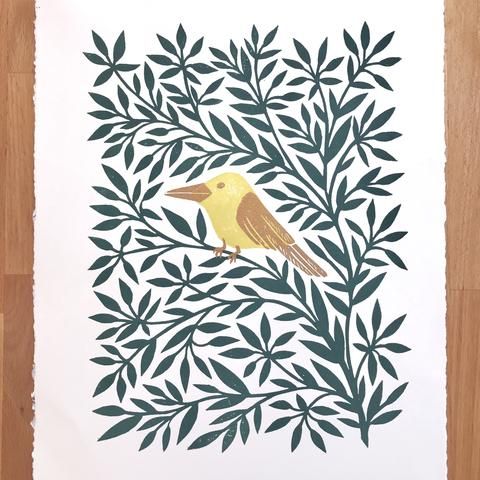
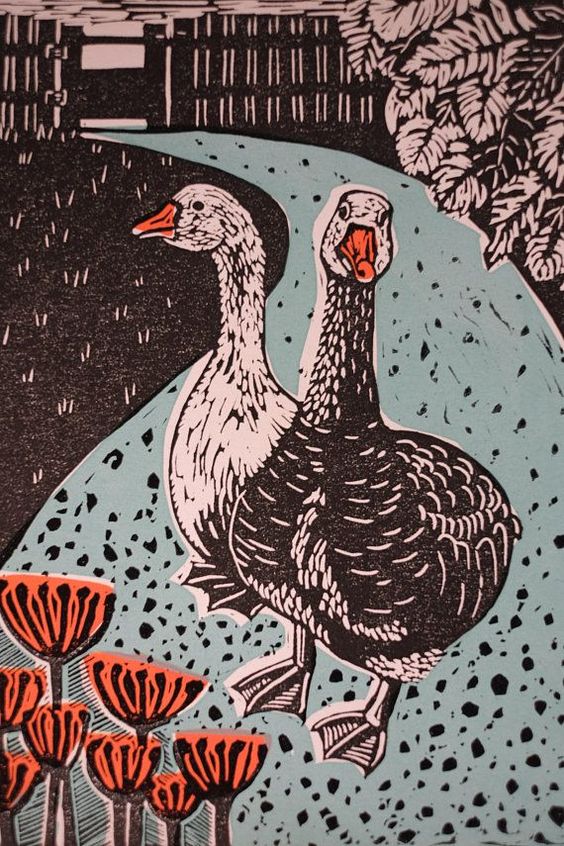
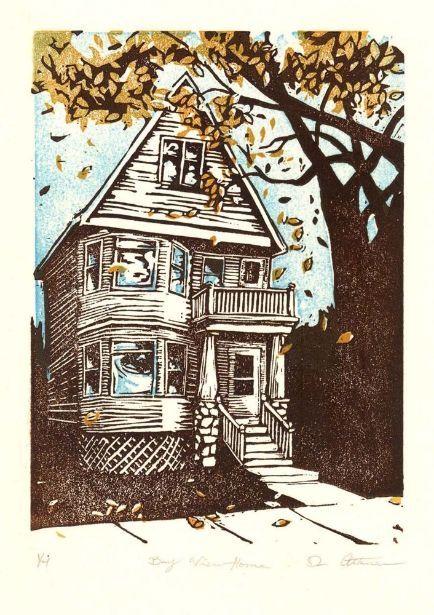
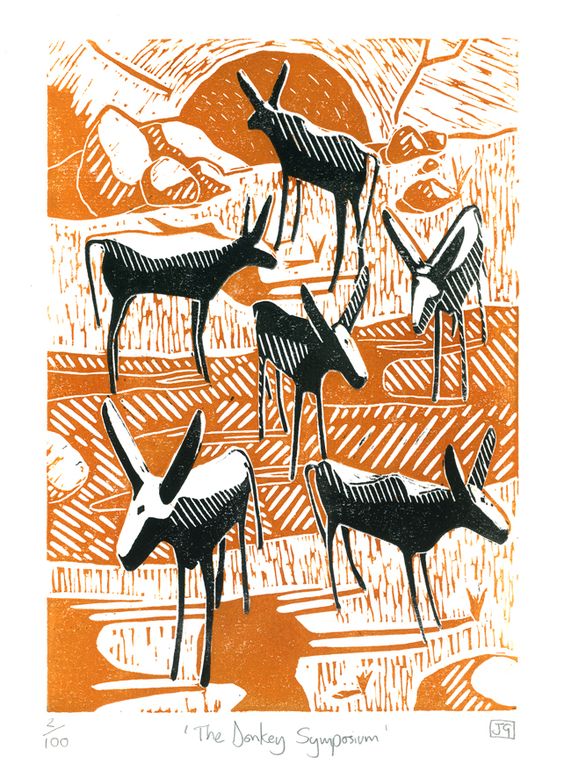
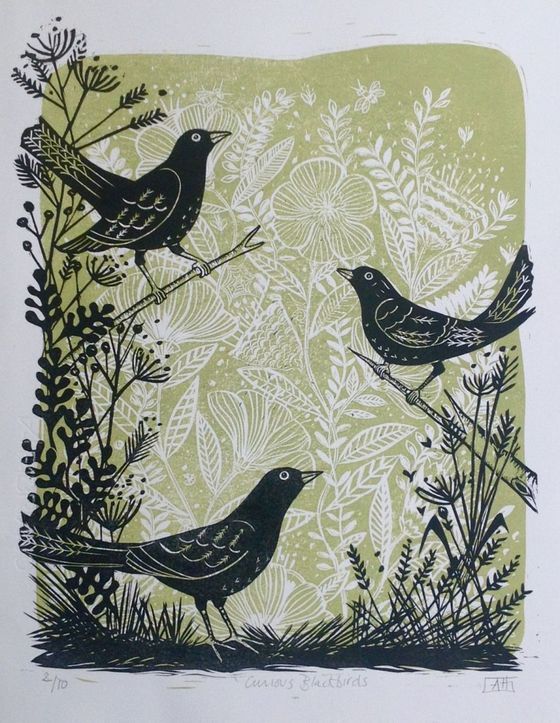
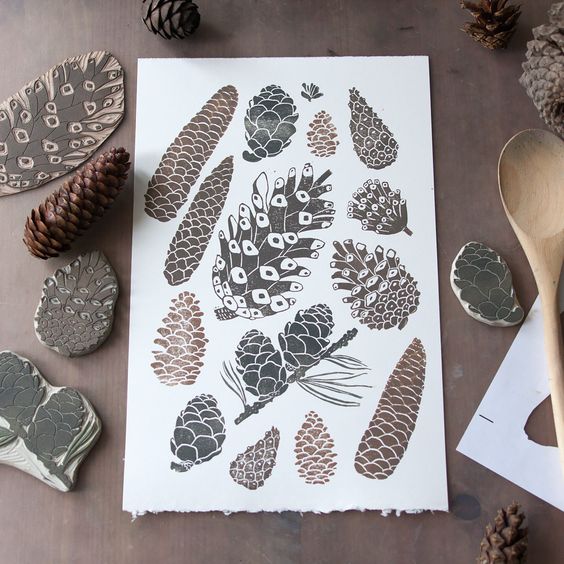
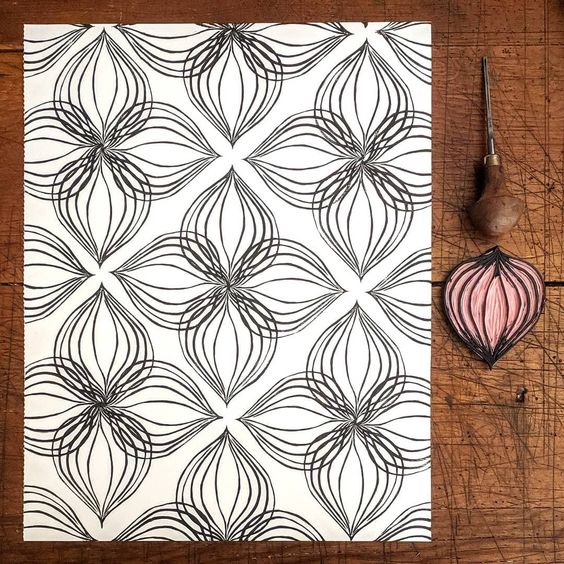
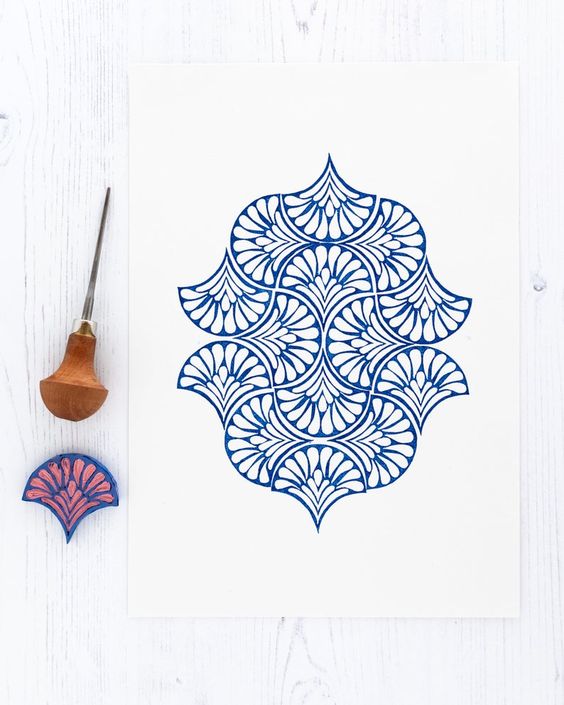
Besides you should also check out Maarit Hanninen’s prints to see possibilities in linocut printing and get a better impression about the process of hand made linocut printing.