Underwater filming
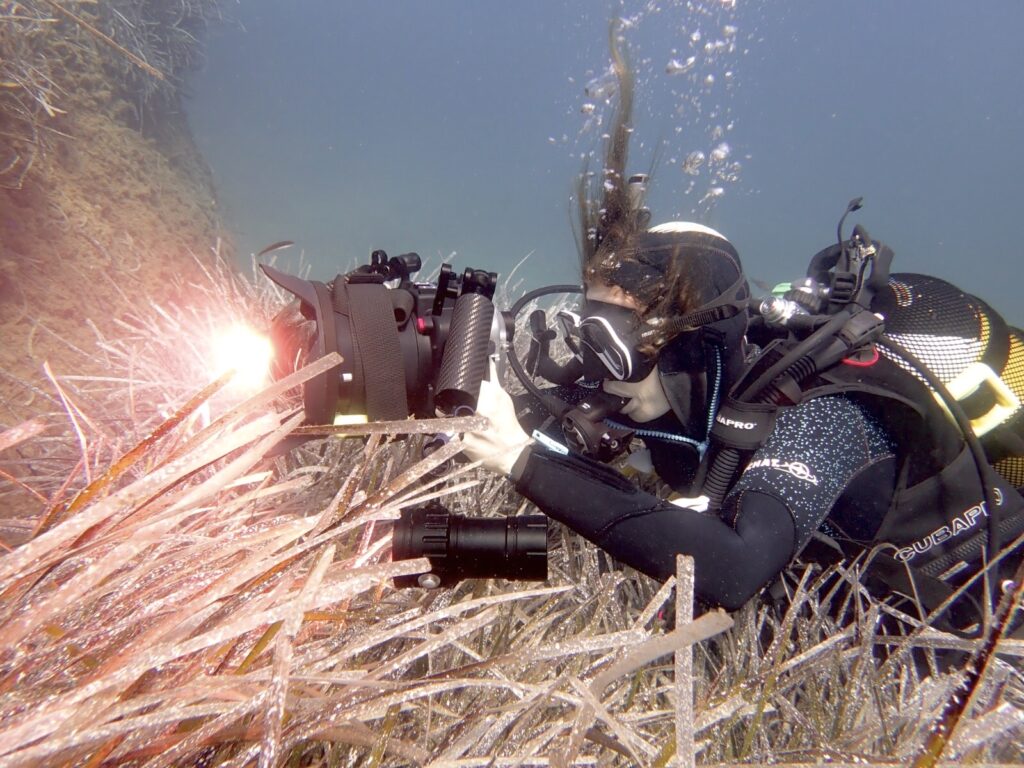
As with filmmaking on land, the right gear is also very important on land, and the right setup of this gear is even more important. Underwater image systems have two main components, the camera and the underwater housing for this camera. If the filming shall take place deeper, lights should be included, otherwise it will be very disappointing to see that the footage looks washed out. The deeper a diver goes, the more they will see that colors will get less and less vibrant, because less light from the surface goes down into the depth. Mounting video lights on the underwater imagining system allows the filmmaker to bring those lost colors back.
Lights are also needed when shooting in the night, as those are the only light source underwater that time of day. Light Absorption: There are multiple reasons why it gets darker underwater, one is that particles block the sunlight which is penetrating the water, as I previously mentioned water itself also absorbs light, and light also gets reflected of the waters surface. All of that reduces the amount of light we have underwater. With the light absorption the colours dissapear, First red, then orange, yellow, green, blue, indigo and violet. The longer the distance light has to travel through water, the less light comes through and the more colours will be lost. This can make underwater images look very unappealing. Red loses its vibrance at around 4,5m, orange at 15m, yellow at a 30m, green at 76 followed by blue and violet. Most underwater camera housings come at a very high price, so it is best to research for some time before deciding on one housing. Those expensive housings for the most part also only fit one specific camera model, which means not only the choice for the housing manufacturer should be thought through but also which camera system will be used. For the beginning waterproof action cameras, soft plastic housings or even phones in waterproof cases can be used. Those options are much cheaper than a professional underwaterhousing for the film camera of your choice. But of course the price difference is visible. Cheap soft plastic housing are also not meant for deep dives.
Suspended Particles: Suspended particles in the water affect the sharpness of the image, and can also cause backscatter (little particles which appear on your image) Sometimes there is nothing a diver can do about those particles swimming around in the water, but they can also be caused by the diver, if she/he gets to close to the underwater environment and touches rocks, plants, the ground or walls, if that happens little particles can get loose and start swimming around. A very good bouncy is key to good footage. Not only because it can cause an unclear picture but also because the camera needs to be held still in order to create smooth footage. No matter in which clarity of waters footage is filmed, light is deflected by particles in the water trough which it comes. Because of this process, sharpness is reduced, the more light travels through the more sharpness gets lost. If the goal is not to film macro, better not use a long lens, use a wide lens and get as close to the object which shall be filmed as possible. This way the distance between the lens and the object is shorter and less light in-between.
Another way where particles are made visible is through the video lights on the camera, if they placed to close to the lens. The light coming from your system will reflect on the particles and cause the snowstorm effect called backscatter. The solution for this problem would be to mount the lights far enough away from the lens, and to aim the strobe in the direction of the subject, but only minimal light is between the lens and the subject.
One camera setting which should not be forgotten about is white balance. This setting is as important if not even more important underwater than on land, especially when filming without lights. When filming in raw, this is not a huge issue, but cameras that film in raw are very expensive and need a lot of memory card space. If the camera allows it set the white balance manually, it is easy to bring a white card underwater or use white sand or a slate as reference. Another way to get the right color underwater is by using red or pink filters. They can be screwed on in the front of the lens or housing. Red filters for blue water, pink filters for green water.