
While most designers have figured out their workflow for designing mobile apps, processes for designing VR interfaces are yet to be defined. When the first VR app design project came through our door, the logical first step was for us to devise a process.
Traditional workflows, new territory
Interface-based VR apps work according to the same basic dynamic as traditional apps: Users interact with an interface that helps them navigate pages. We’re simplifying here, but just keep this in mind for now.
Given the similarity to traditional apps, the tried-and-tested mobile app workflows that designers have spent years refining won’t go to waste and can be used to craft VR UIs.
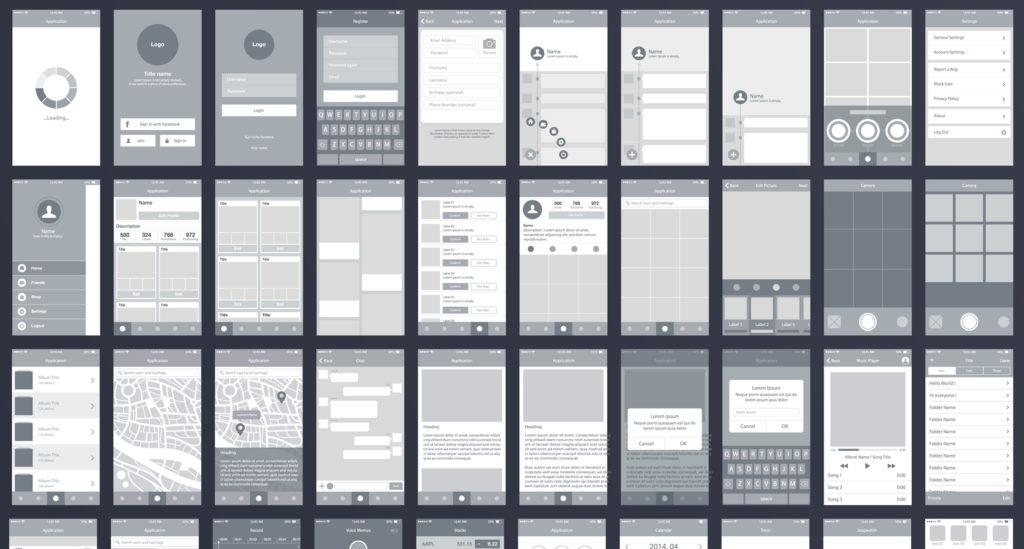
1. Wireframes
Go through rapid iterations, defining the interactions and general layout.
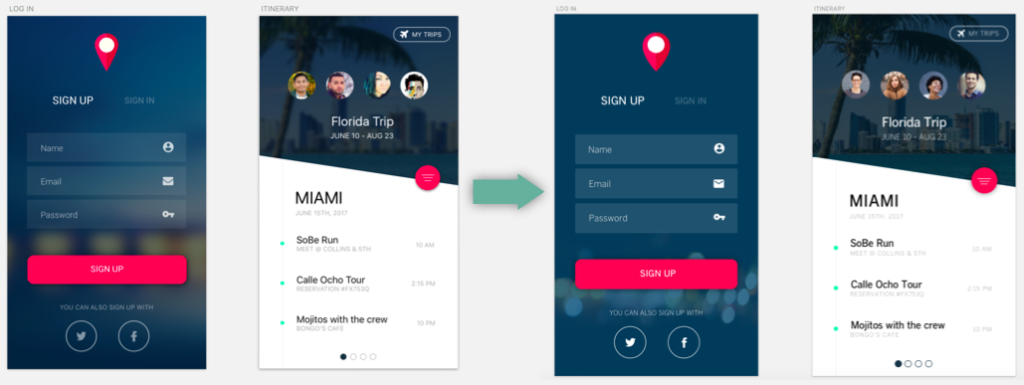
2. Visual design
At this stage, the features and interactions have been approved. Brand guidelines are now applied to the wireframes, and a beautiful interface is crafted.
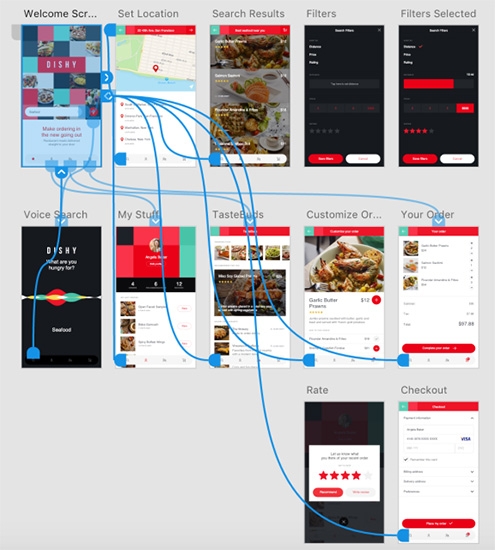
3. Blueprint
Here, we’ll organize screens into flows, drawing links between screens and describing the interactions for each screen. We call this the app’s blueprint, and it will be used as the main reference for developers working on the project.
Tools
Before we get started with the walkthrough, here are the tools we’ll need:
- Sketch. We’ll use Sketch to design our interfaces and user flows. If you don’t have it, you can download a trial version. The sketch is our preferred interface design software.
- GoPro VR Player. GoPro VR Player is a 360-degree content viewer. It’s provided by GoPro and is free. We’ll use it to preview our designs and test them in context.
- Oculus Rift. Hooking Oculus Rift into the GoPro VR Player will enable us to test the design in context.