How to Scientific Illustration

The main goal of scientific illustration is to translate scientific information into a visual representation that helps the reader or viewer to better understand the topic. Creating a scientific illustration involves multiple steps that may vary depending on the project.

At first the most important thing is to research the hell out of your subject! It may take some time, but it is extremely important to accurately share the information. When working with a scientist there will be provided information, but you still have to sit down and wrap your brain around it. Don’t forget to look at existing or similar work on the subject. It’s good to know what’s out there.

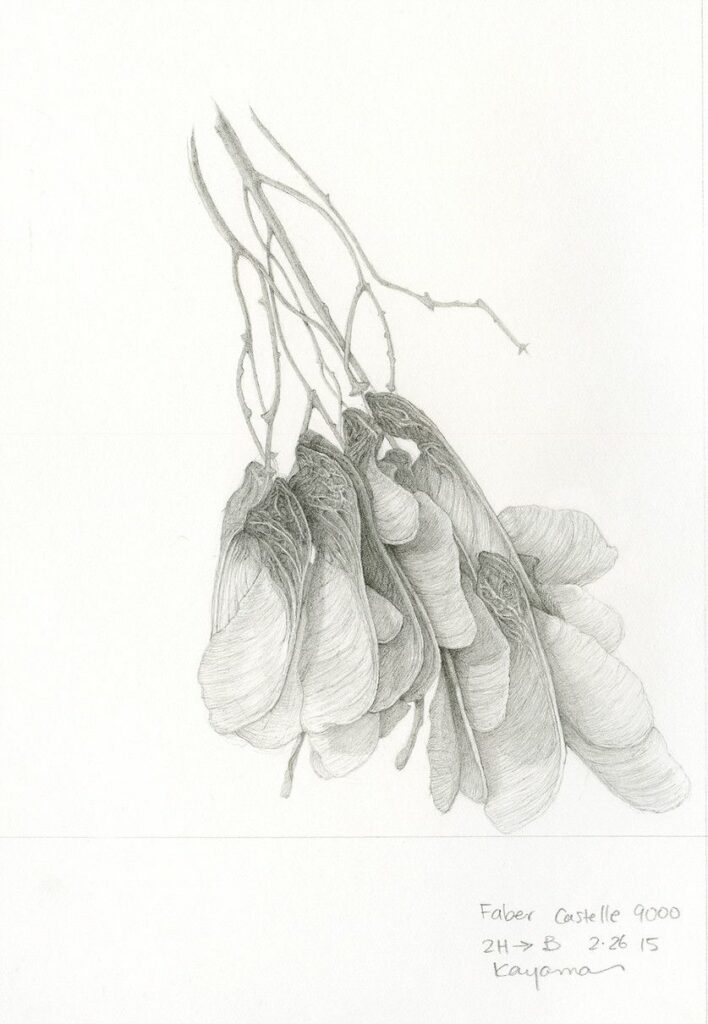
The next thing on your to-do list is to create preliminary sketches. Visualize what you have in mind and make as many sketches as you feel like. The more you sketch the more you can edit, revisit and adapt later on. You can also sketch the layout of the finished product (e.g. an informative poster) to get a feel for the needed space and dynamic of different parts. 

After doing your sketching you can try out different illustration techniques. Will it be digital or analog? What color palettes will you use? By practicing and using different types of media and get a feel for which style fits your project best and find out how to get the best result. 

Now that you made your sketches and tried different methods it is time to decide on the overall composition and transfer your drawing to editing software. Afterwards it’s time to start working on your final illustration. Once you get a first draft you can talk to the scientist that you cooperate with and discuss your illustration. Make it an iterative process and revise your illustration if needed. Once you and your collaborator are on the same page you can finalize the project. 

I got this information from an article by Kara Perilli about making a scientific illustration on the Current, a blog from The Franklin Institute. She writes about the process in more detail and via example from her own project. 

https://www.fi.edu/blog/making-a-scientific-illustration


I also found this video about Nora Sherwood on her journey and career as a scientific illustrator. She is talking about her creative process, her desire to make people think about the world and nature as well as her wish to invoke curiosity and pass on knowledge.    

Science & Art

The art of science and the science of art

Ted talk by Ikumi Kayama
Medical and scientific illustrator

Ikumi Kayama shares what scientific illustration means to her and what motivates her to keep going. In her work she creates illustrations of “dead things”. They could be plants, animals or humans. One of her focuses is human anatomy and she loves to give new insight about the human body to other people. Kayama emphasizes that the advantage of illustration over photography is that she can breath life into her drawings, make things see-through and direct the viewer’s eye to a specific point of the picture.

Some of Ikumi Kayamas work:


Integration of Art and Science

Ted talk by Yoko Shimizu
Contemporary artist and biochemist

Yoko Shimizu talks about the beauty of science, the way it inspires her and how she uses scientific principles to create fascinating installations. In her talk she shows three art installations about gravity, surface tension and sound waves. With her work she wants to show everyone that inspiration is all around us and that combining things that seem on different ends of a spectrum can lead to astonishing and beautiful creations. Visualizing the unseen is one of her key motivations.

Inside Futurelab – BioArt

Video by Ars Electronica

In this video Yoko Shimizu presents the Ars Electronica Futurelab, where they create creative and innovative technology with clients from around the world. Shimizu gives the viewers a quick tour of the Ars Electronica Biolab, which consists of two floors, a museum/galerie and laboratory. Afterward Shimizu talks about BioArt, her motivation and projects. She loves that in BioArt you start with something you designed but in the end you end up with something you couldn’t even imagine by co-creating with nature and living things.

It’s much more beautiful than something that you could’ve created on your own.


When science meets art

Ted talk by Fabian Oefner
Artist

Fabian Oefner presents two of his projects inspired by science. The first one is based on sound waves. Tiny crystals are placed on a plastic foil above a speaker. They jump in the air once a sound is played. Using a camera that can take 2000 pictures per second he photographs this phenomenon. In his second project he uses ferrofluids (fluids that react to magnetic fields) and watercolors to create amazing organic images. Each of his projects is somehow inspired by science, because he doesn’t just want to create stunning images but wants to make people curious as well. His goal is to make the viewer stop for a moment and wonder how he did it and what the physical properties are.

Scientific Illustration 02

The American Museum of Natural History created two informative videos about Natural Histories, an exhibition about scientific illustration, naming historically important pieces. Curator Melanie Stiassney states that illustration is able to subtly highlight the features which are important for a particular species in a way photography necessarily can’t. In some cases the depicted species is extinct today, so our only way to learn about them is to read and look at the historic illustration.

Natural Histories: Scientific Illustration on Display by the American Museum of Natural History
Natural Histories: Rare Books from the AMNH Library by the American Museum of Natural History

Additionally they created a video about printing techniques for historic scientific illustration. It explains how woodcut, engraving, lithography and chromolithography work.

Woodcut: Originally used as a fabric printing technique, but got adopted by book illustrators. It worked like a stamp.

Engraving: Gravers or burins were used to inscribe lines into copper plates. Ink would be spread onto the plate. Excess ink would be wiped off and a damp sheet of paper would be placed on top of the plate. A roller would be used to put pressure on the paper to press the ink onto the sheet.

Lithography: For lithography very fine grained stone, usually lime, was used. 

Chromolithography: Printing in color by using multiple stones: one stone for each color. Later on a technique using only four stones (three colors + black) was invented.

Rare Book Collection: Printing Techniques for Scientific Illustrations by the American Museum of Natural History