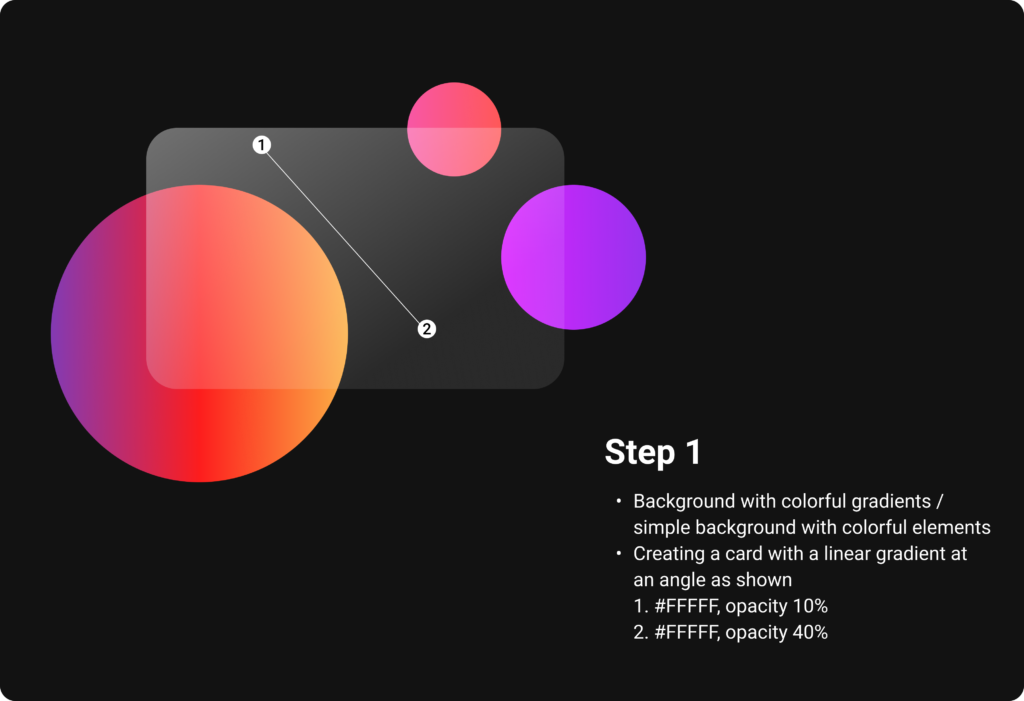
In this blog entry I will have a look on how to implement Glassmorphism in figma, but also briefly in code.
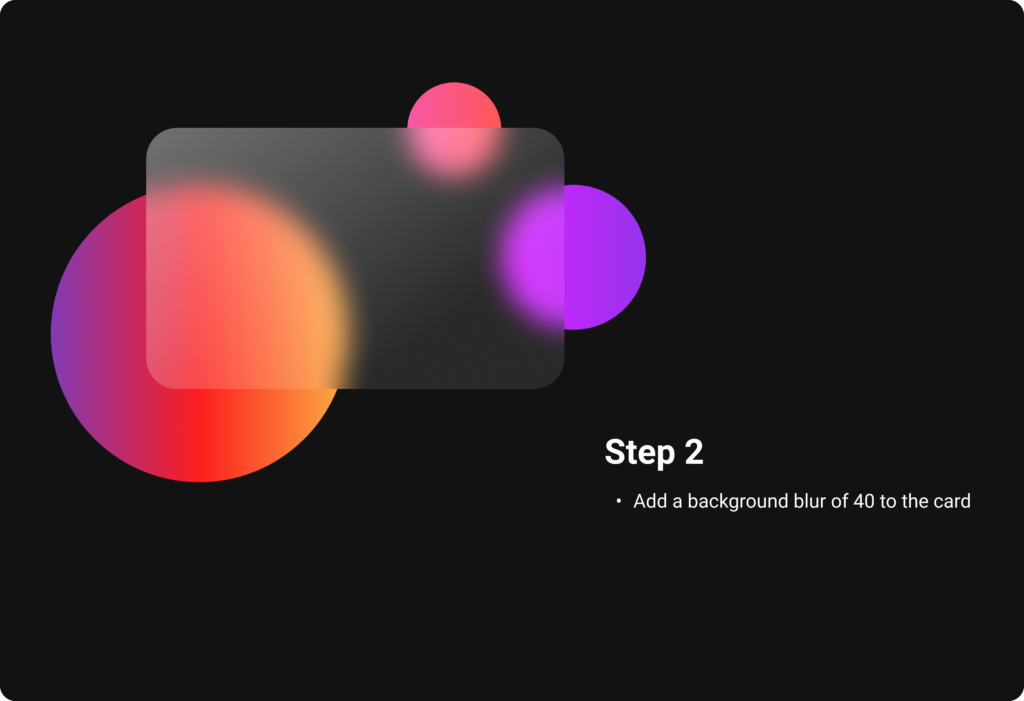
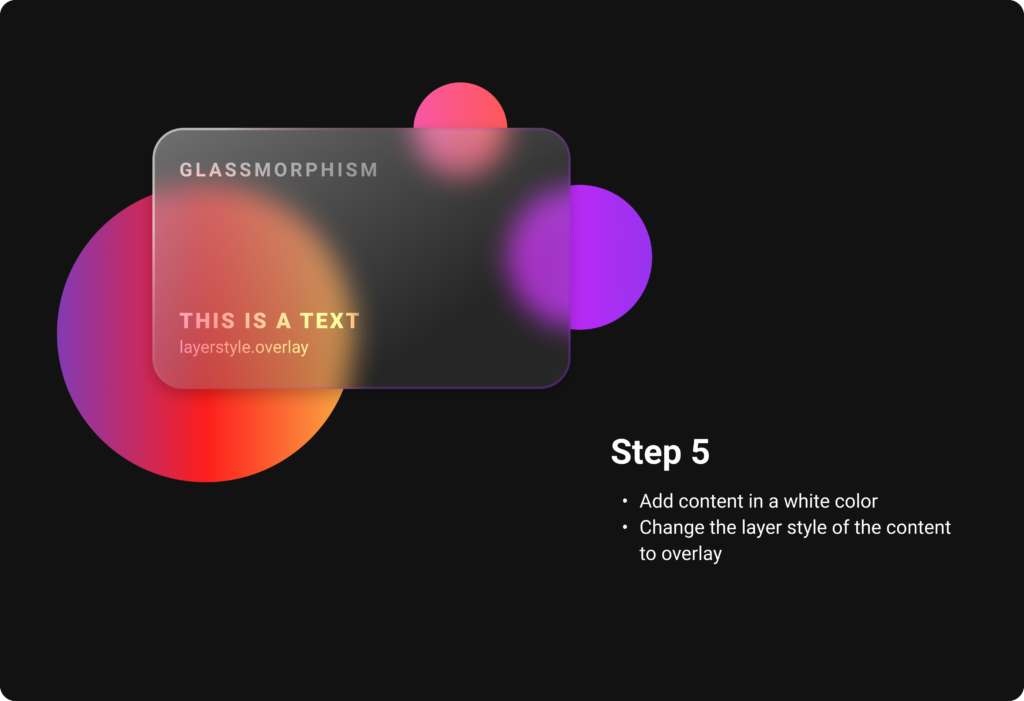
First you start off by choosing a colorful background or a simple background with colorful elements, which will be seen partly due to the transparency of the glassmorphic card element in front. It works very good with gradients, why I have chosen them for my example. Ones the background is set, create a card and choose a linear gradient for the fill, which consists of two white colors of different opacities. It is important to change the opacity of the fill, but not the opacity of the whole object. With a background blur, the glass optic becomes visible and you get a first preview of the look.
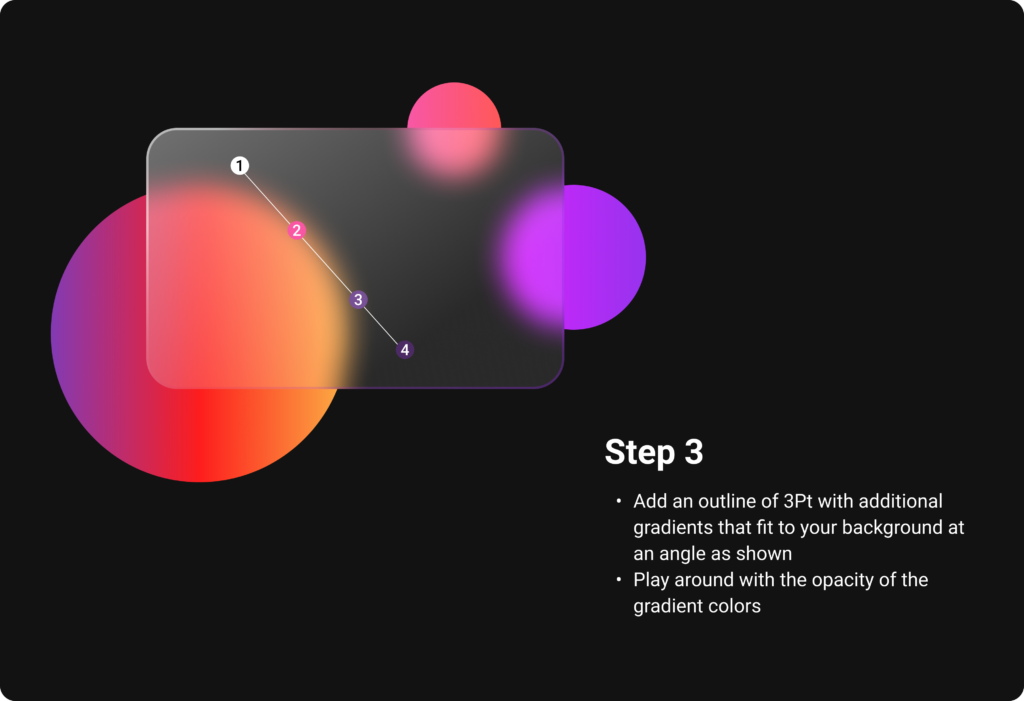
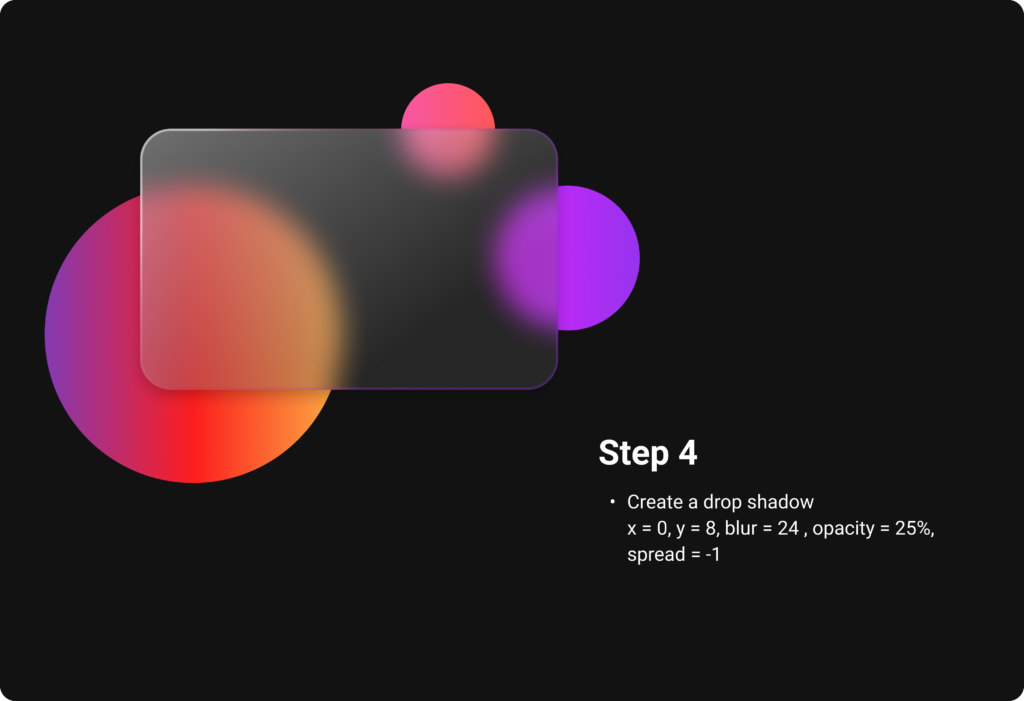
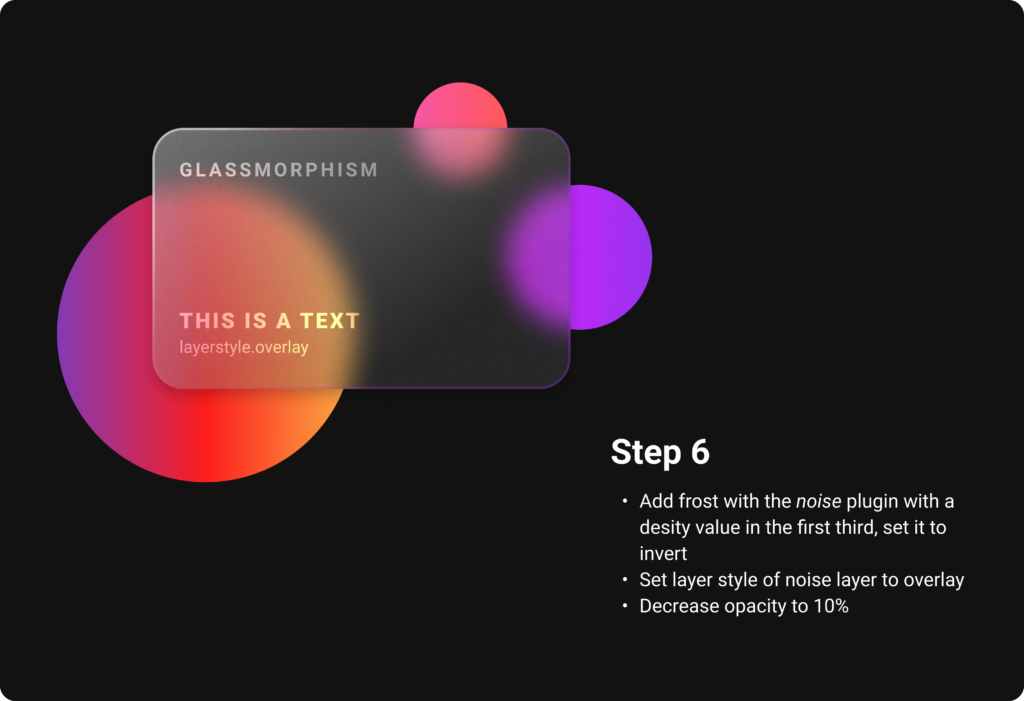
Add an outline to indicate the borders of the object. It later helps to establish the hierarchy. For a better illusion of depth, additional linear gradients that fit to the background can also be applied to the outline. A subtle shadow rounds everything off and helps to distinguish all the layers. Also the content is placed in an Overlay layer mode, which attaches it more into the card. By using noise, the frosting effect is created and gives the card the perfect glass optic.
But what about the visual hierarchy with this transparent elements?
As in Neumorphism, also Glassmorphism uses the skeuomorphic approach of the real world counterpart, which in this case is of course glass, as a guideline for shadows and blur effects. When there are multiple layers of glassmorphic cards, each of them should receive a subtle shadow as described above.
The differentiation of the blur helps to show which element is at the top, middle and back. As in the real world, the farer away a frosted glass is from the background, the more blur the background seems to be through the glass. For applying this, just start with the back element and give it a blur value of 15, the middle one has to be a little more blurred, around 25 and the top one can be around 40. To make the hierarchy totally clear, it is also necessary to decrease the opacity from the top card to the lowest. In the image below, the top card has an opacity value of 36, while the bottom one has only 16. To complete everything, add the borders applying the rules from above or just use a white outline. Either way the outline has to have a lower opacity from the top card to the lowest card, for which one can orientate on the applied blur as well.
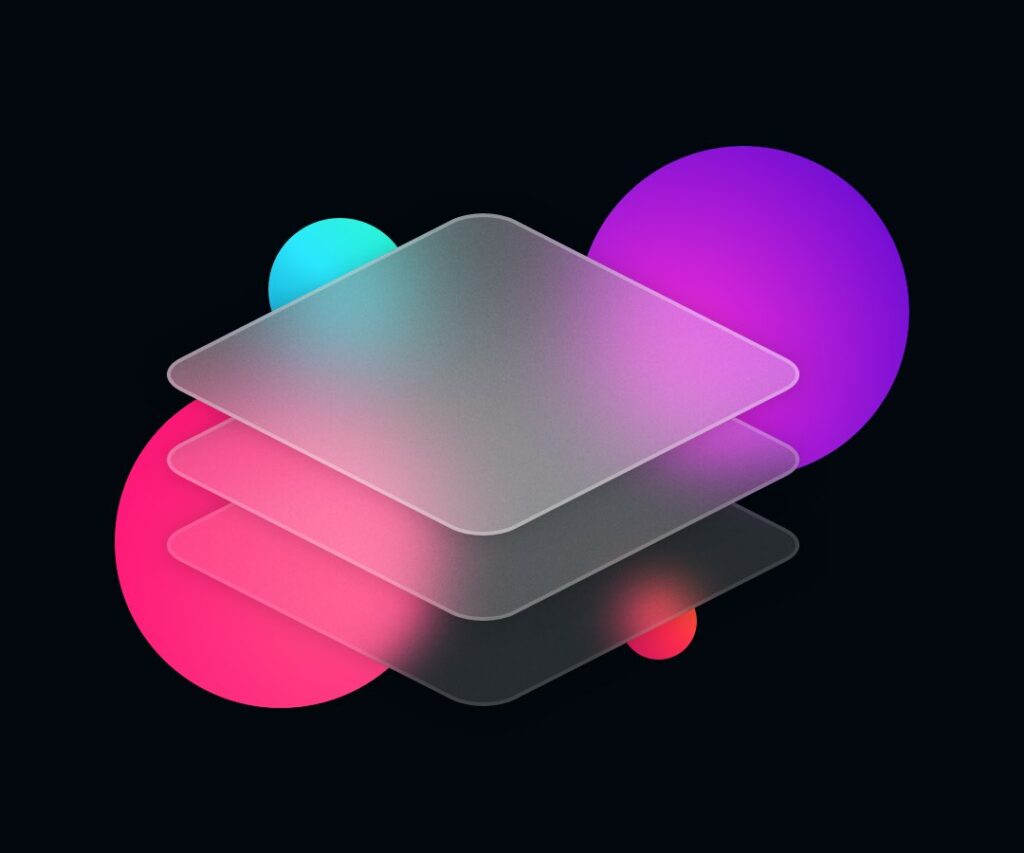
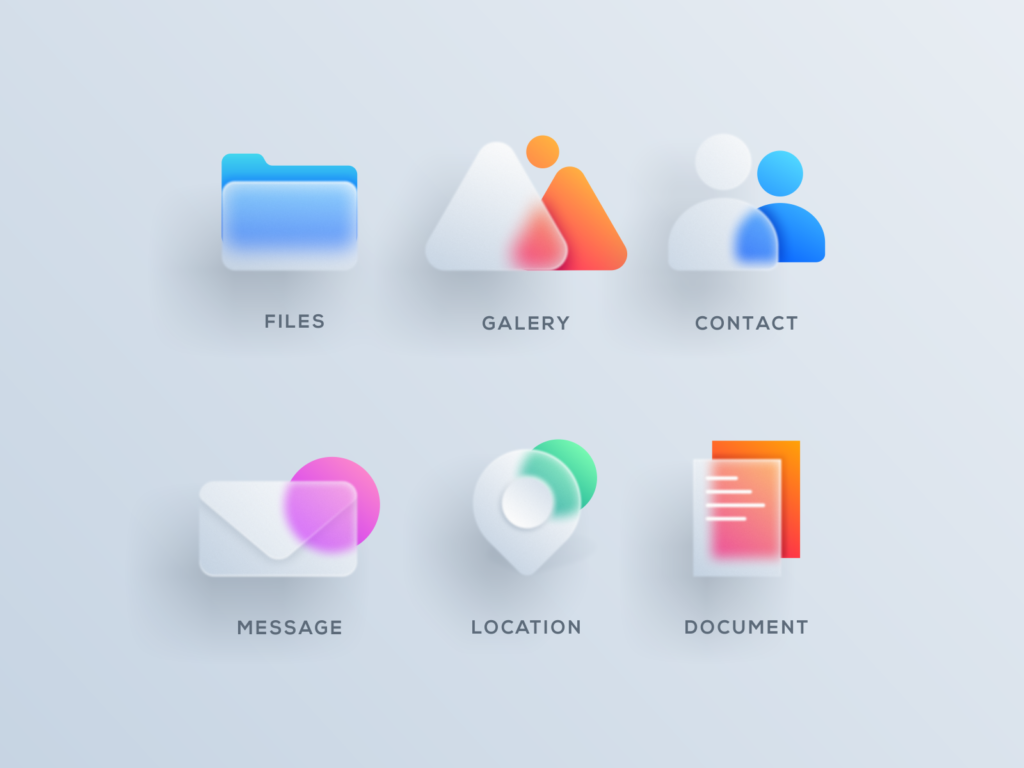
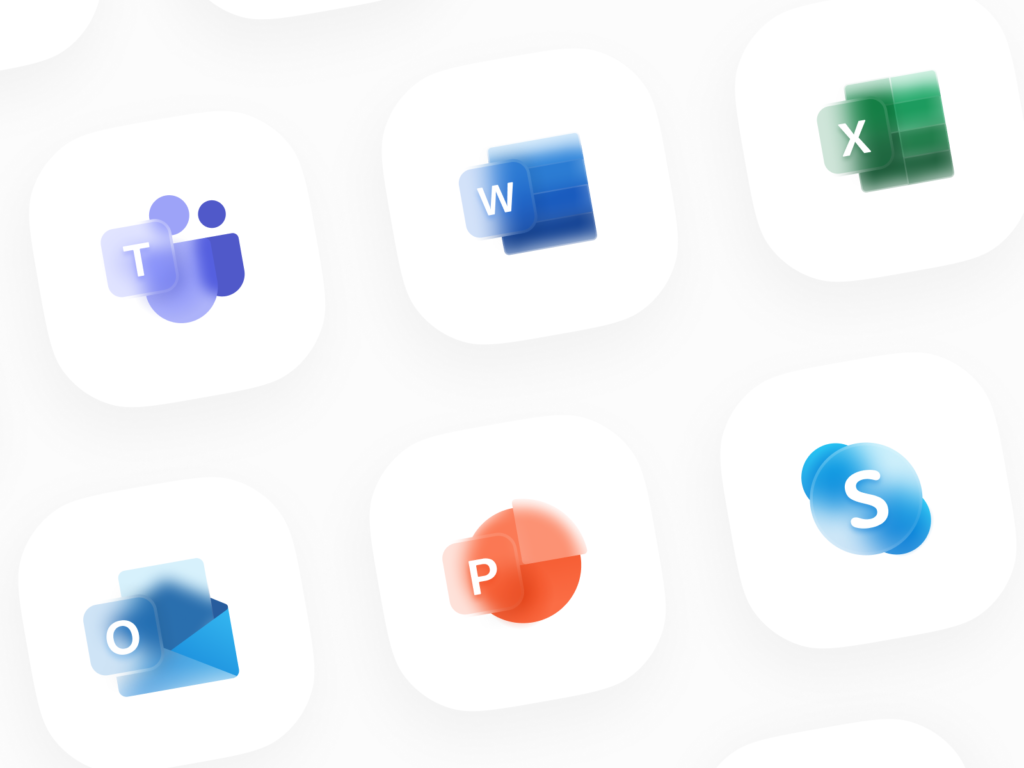
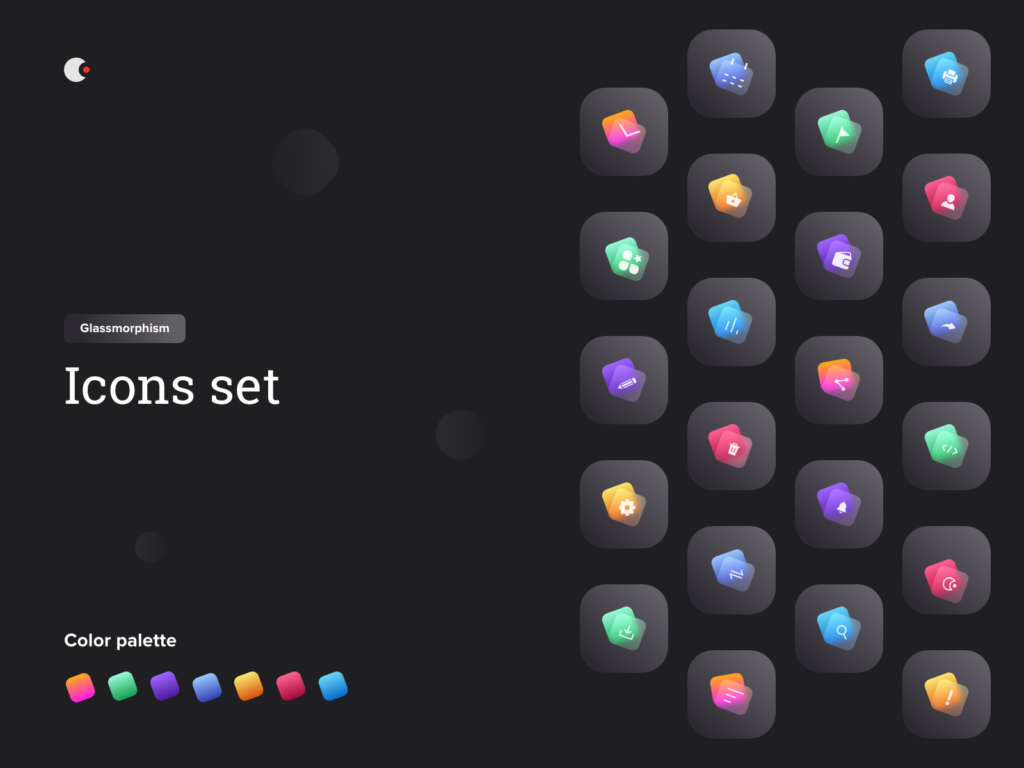
To make glassmorphic icons, the rules showed in the figma file above are usually implemented in a single element of the icon, which is placed in front of colorful background elements. The actual color of the icon is sometimes also displayed in the transparent glass surface. In the images below, you can see various examples of how Glassmorphism is implemented on icons. The simple step by step guide from above can be used to create the glassmorphic icons from scratch.
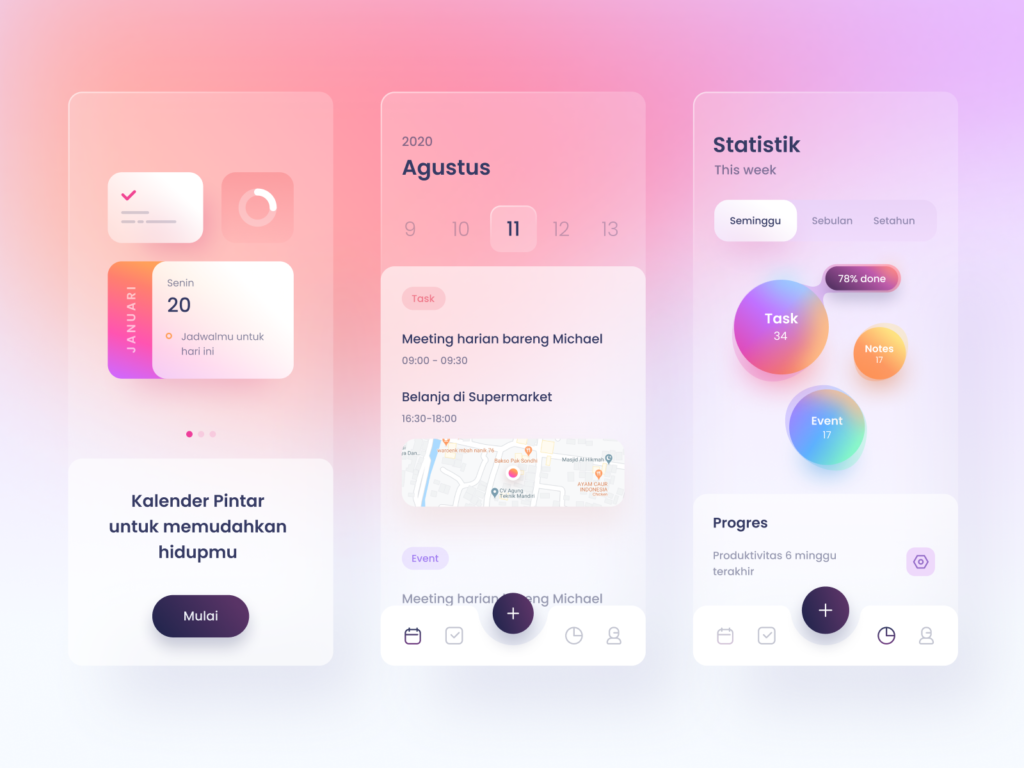
While Neumorphism is mostly used for interactive elements like buttons, cards, toggles and sliders, Glassmorphism is more used in a passive way. It is supposed to give the interface a smooth and modern look by reducing the style to only small and non interactive background elements like cards, icons, overlays etc.
As with Neumorphism, there is a generator for glassmorphic card elements available online which gives a preview and generates code to copy for your css code.
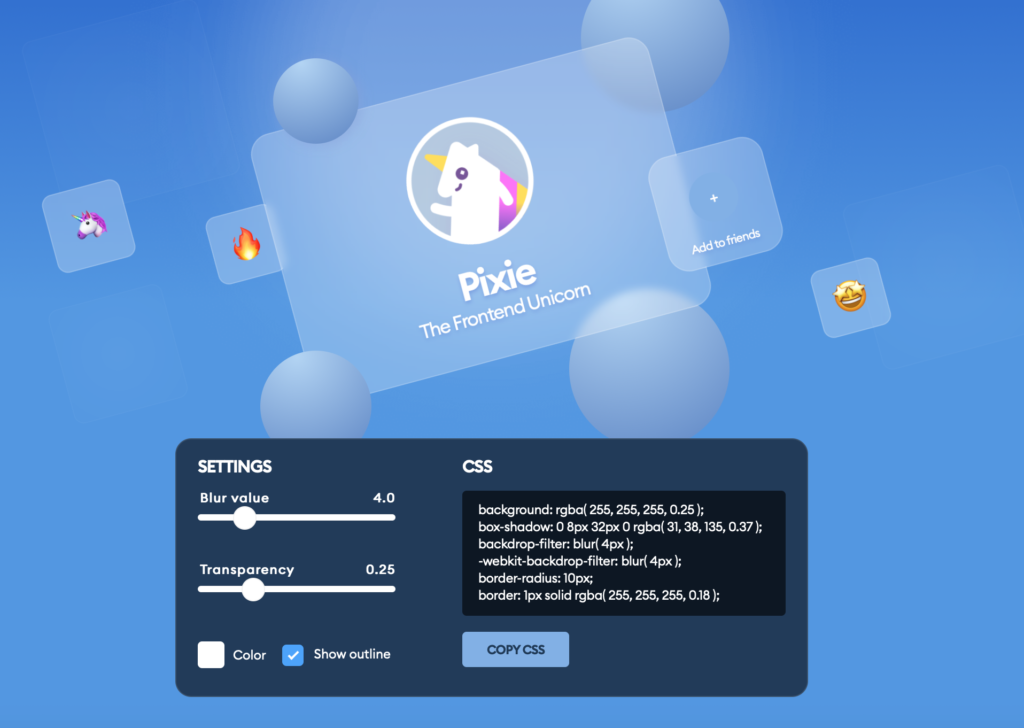
I found lots of tutorials how to implement Glassmorphism in code, one of the examples how to do it you can see below. Basically there are only a few lines of code in html and css (focus is on css) which are very similar to the principle of creating this style in figma.
Sources
https://www.youtube.com/watch?v=8UWkR1H5E4o
https://www.cmarix.com/blog/glassmorphism-the-new-trendsetter-in-2021-for-ui-design/
https://uxmisfit.com/2021/02/03/glassmorphism-guide-to-visual-hierarchy/
https://www.crafted.at/b/3-ui-design-trends-im-check-teil-3-glassmorphism/
https://uxdesign.cc/glassmorphism-in-user-interfaces-1f39bb1308c9
https://www.youtube.com/watch?v=HfKBKQOyWHM
Generator: https://glassmorphism.com
https://youtu.be/Li2apfUzKeE
https://youtu.be/IJrLL3G6xQc
https://youtu.be/rLeCNS1jfwM
